
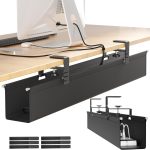



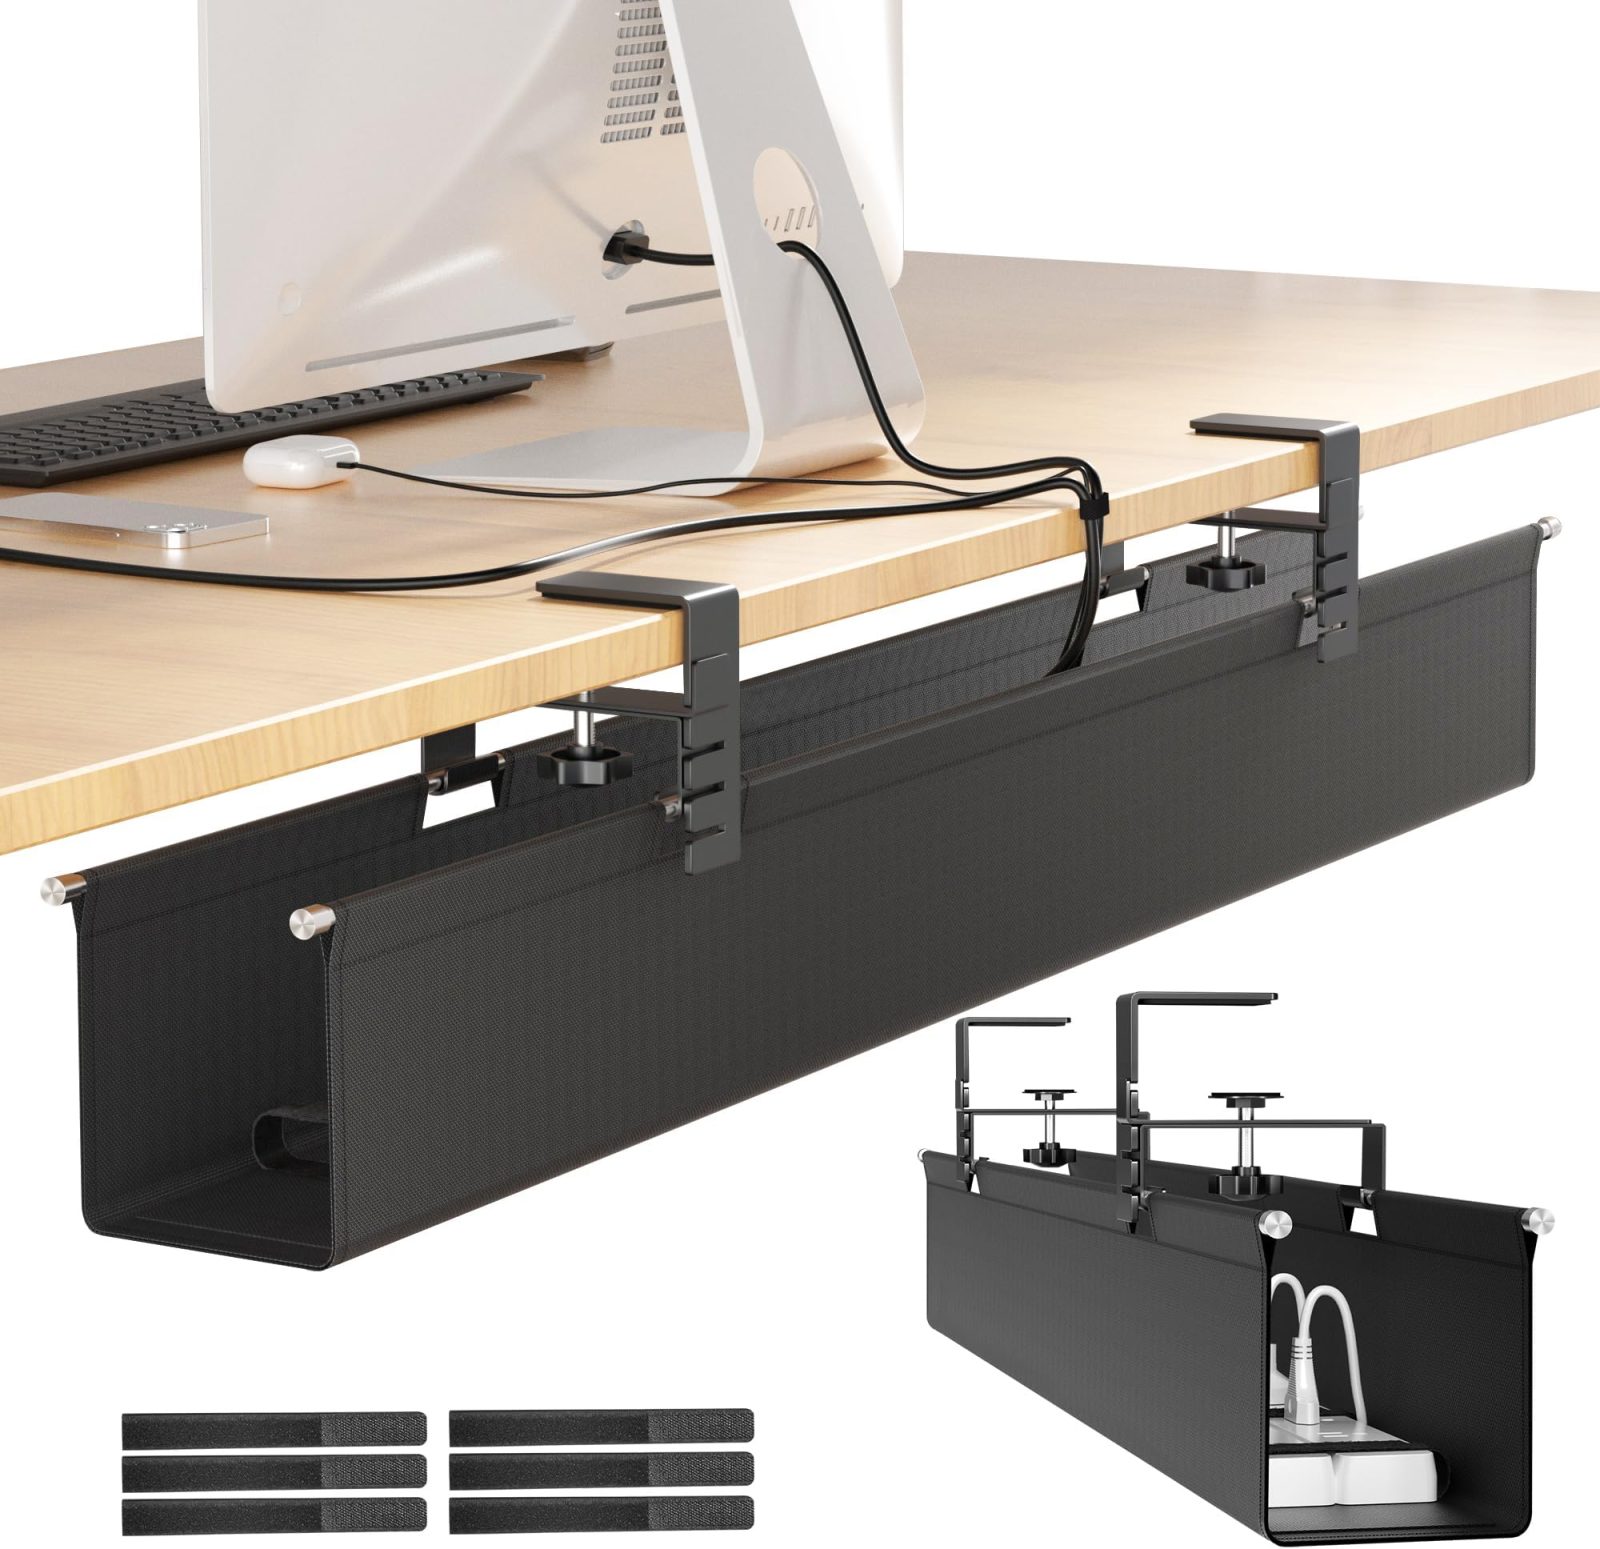
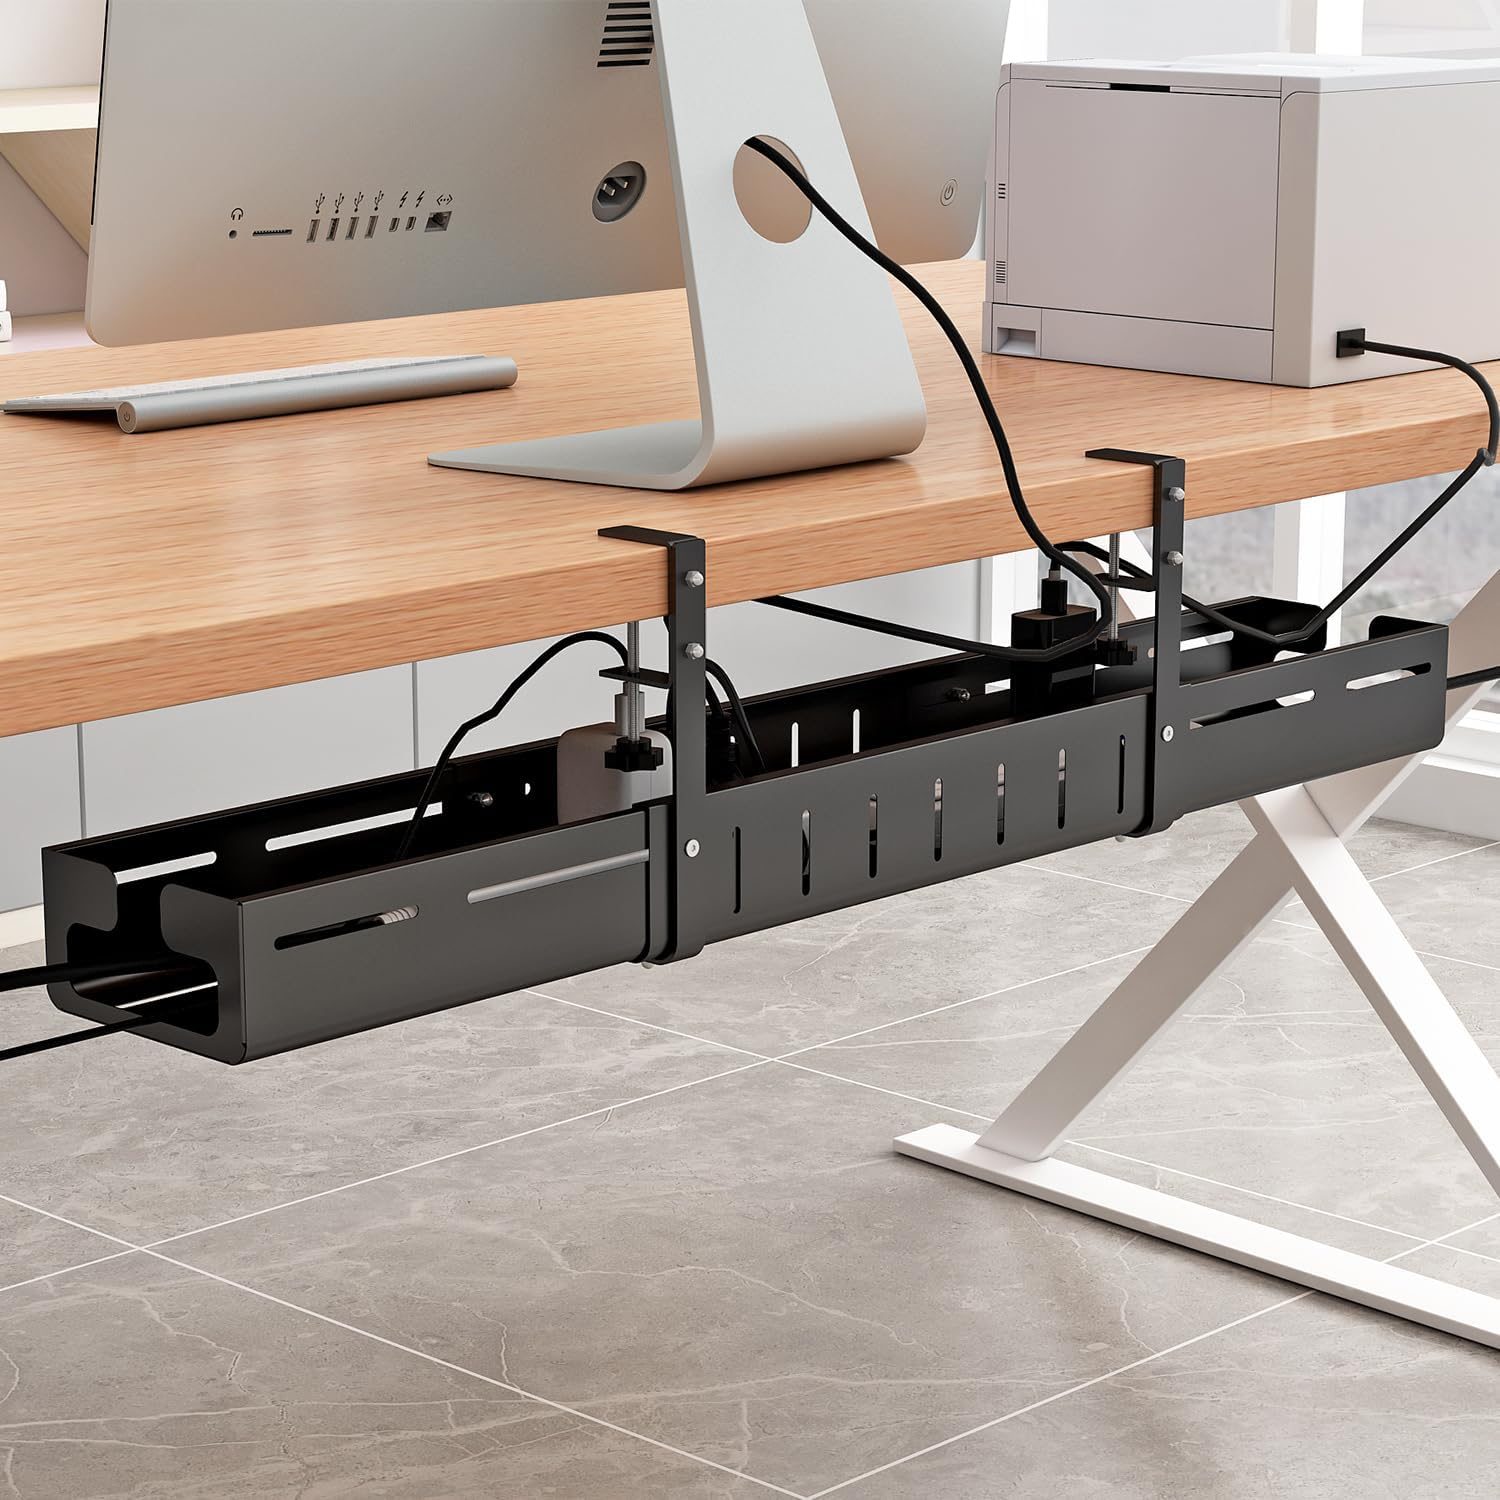
Aploda.com – A cable management tray for an electric standing desk is a specialized hardware attachment designed to house power strips, excess cords, and bulky adapters, ensuring they move safely with the desktop during height adjustments without tangling or disconnecting.
The Importance of Proper Cable Organization
Electric standing desks present a unique challenge for cable management because the work surface constantly changes its vertical position. If cables are not secured properly, they can become snagged on chair arms, stretched to their breaking point, or even cause a power strip to be pulled off the desk entirely when moving from a sitting to a standing position.
Beyond the safety risks, a cluttered workspace filled with tangled wires is a major source of cognitive load. A clean, organized setup reduces visual distraction and allows you to focus more effectively on your tasks. Furthermore, managing your cables properly prevents dust accumulation, which is a common fire hazard when tangled power cords are bunched together in a messy pile.
Types of Cable Management Trays
Before installing a tray, you must choose the right type for your desk setup. The following table outlines the most common options available on the market to help you decide which one suits your specific needs.
| Tray Type | Best For | Mounting Method |
|---|---|---|
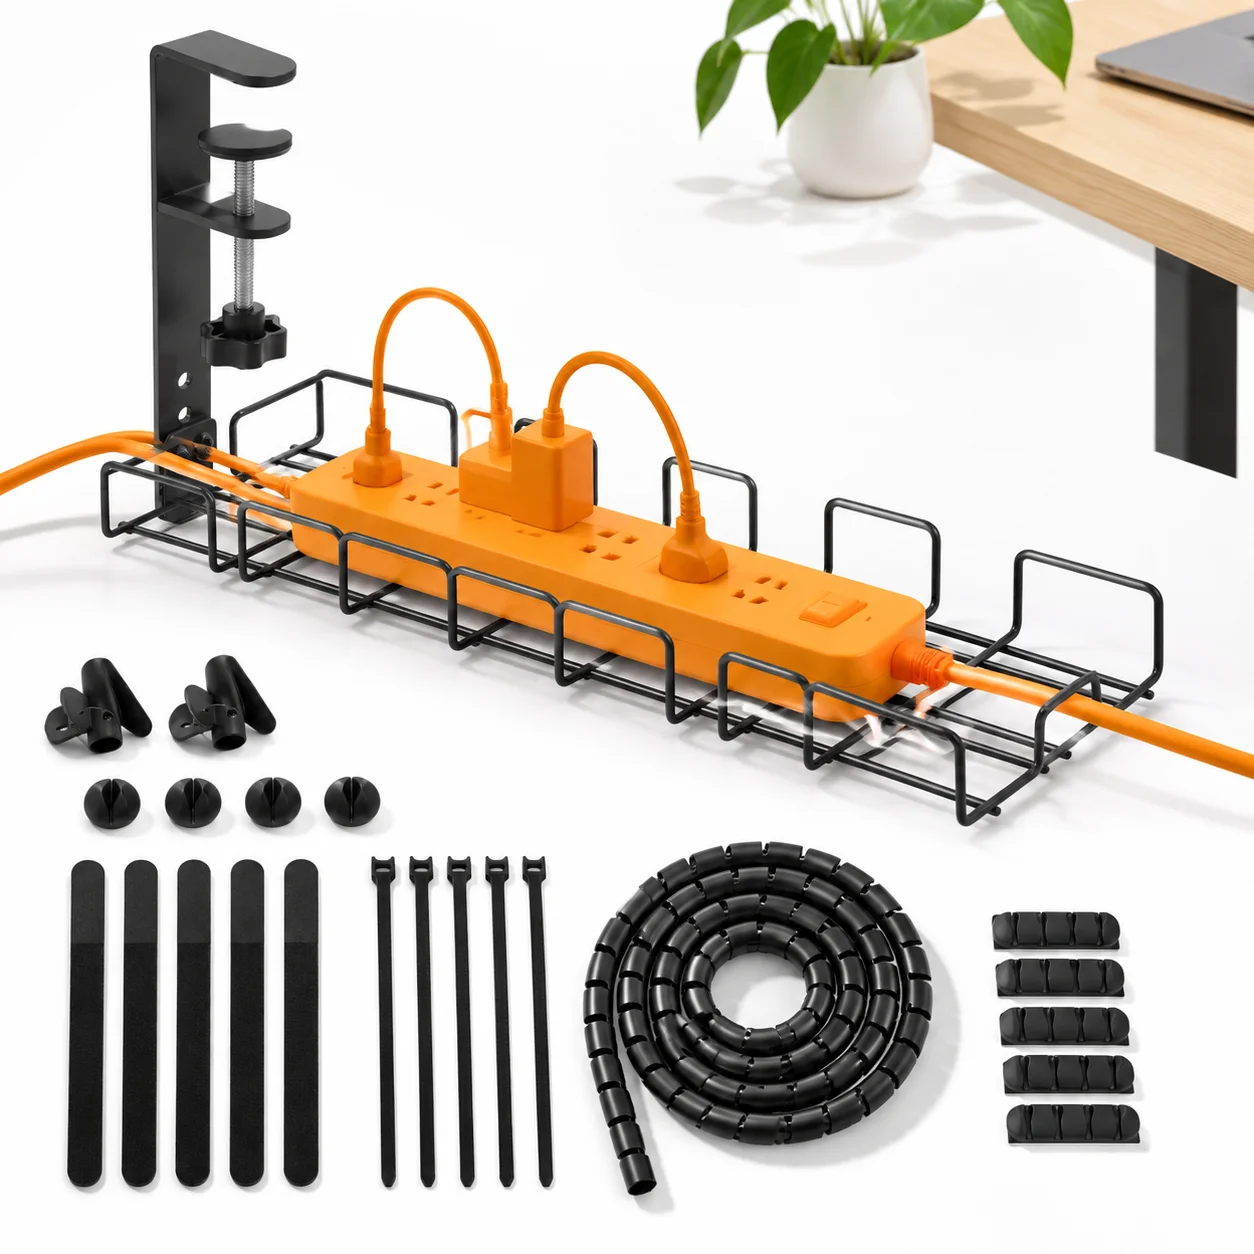
| Wire Mesh Basket | Heavy power bricks and airflow | Screw-mounted |
| Solid Steel Tray | Concealing cables for a minimalist look | Screw-mounted |
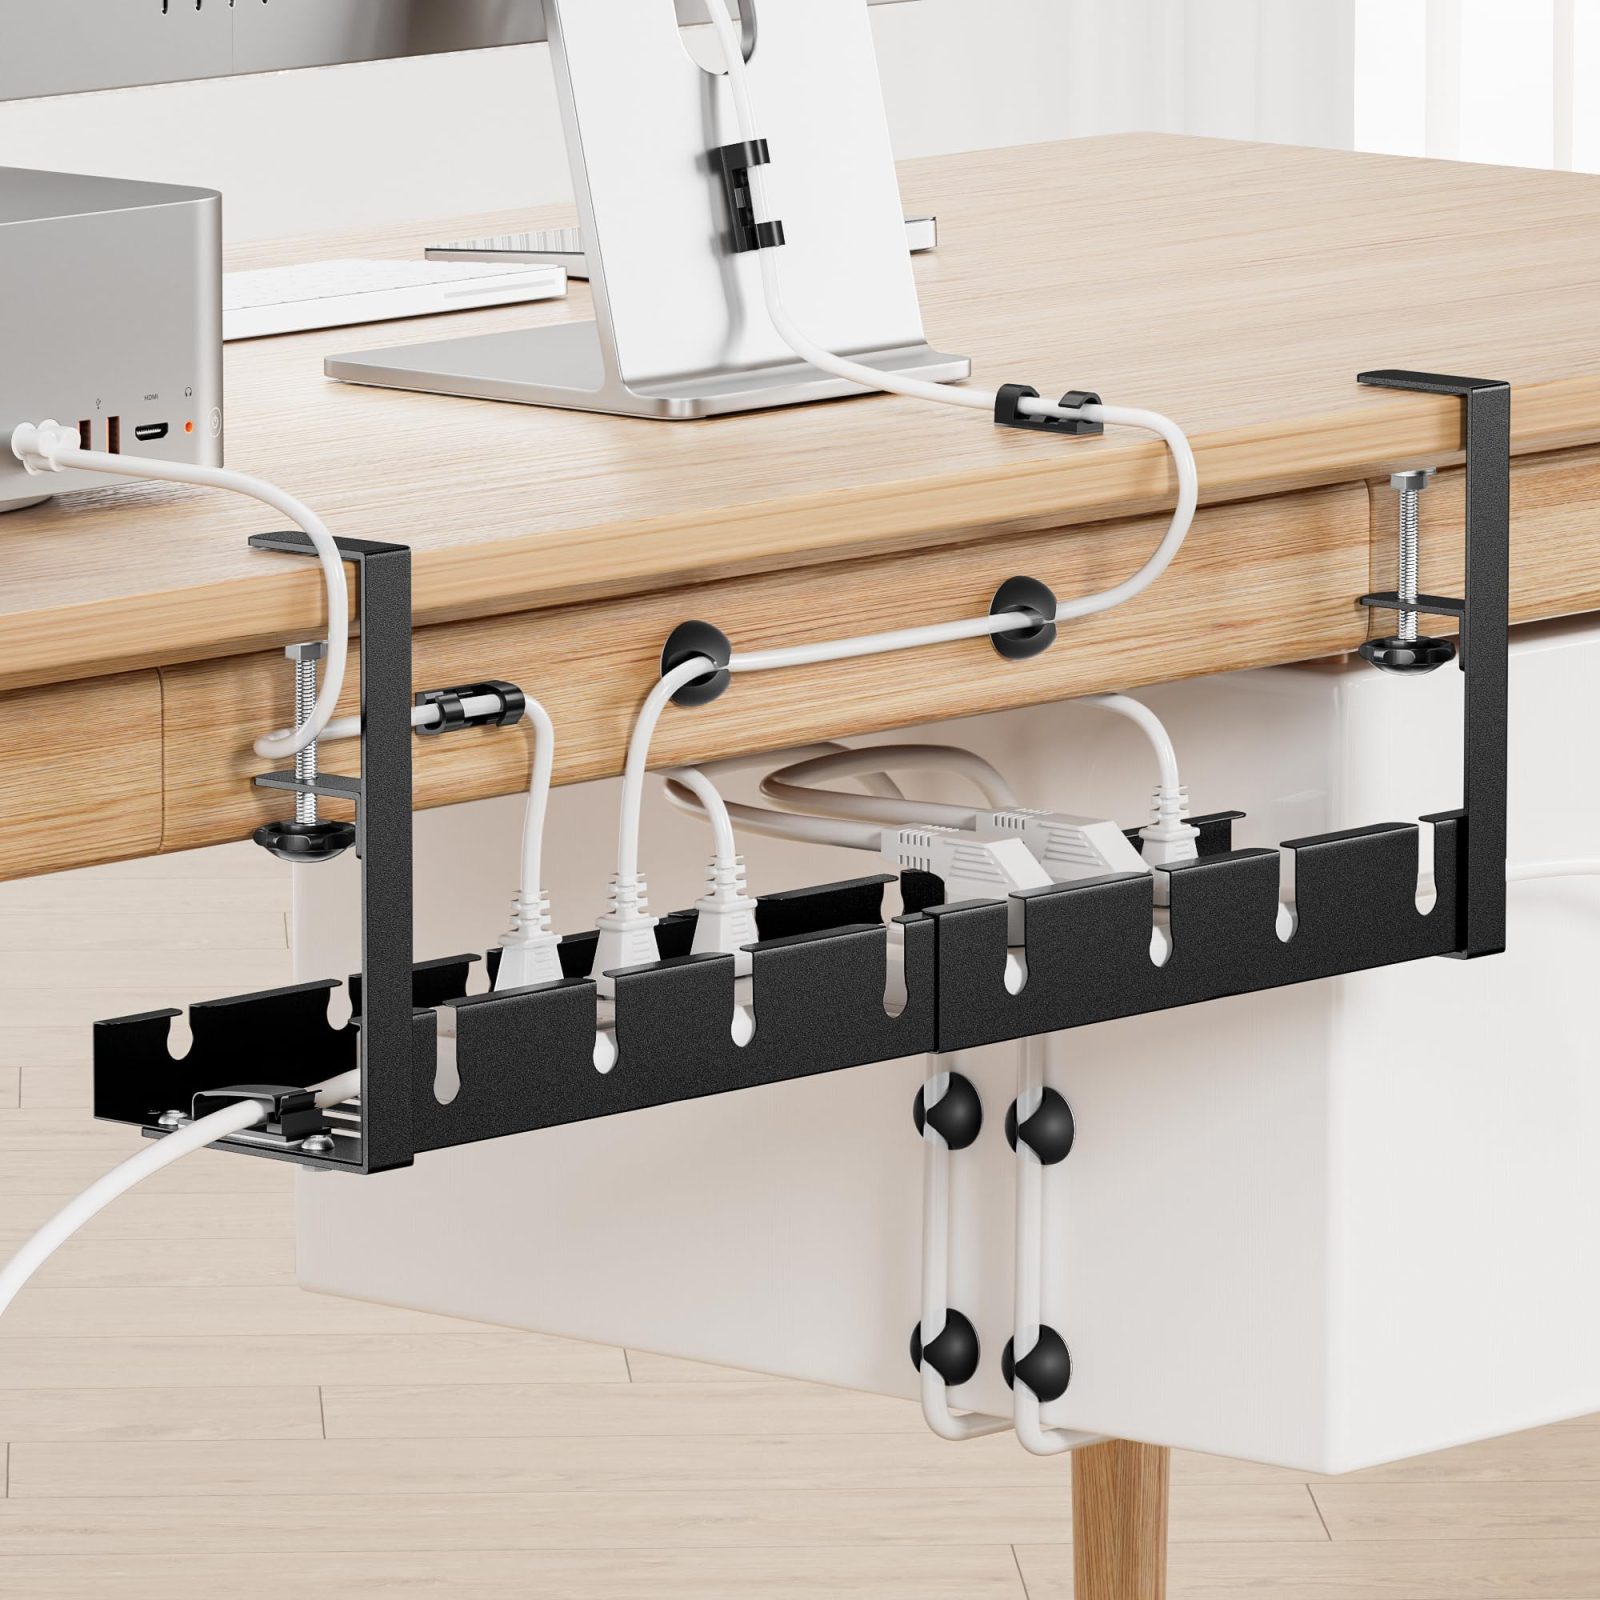
| Clamp-on Tray | Desks where drilling is not allowed | C-clamp mechanism |
| Magnetic Channel | Metal frame desks | Magnetic attachment |
Common Mistakes to Avoid
Many users make the mistake of mounting the tray too far back on the desk frame, which creates a “dangling loop” of cables that can still get caught on your legs or chair. Another common error is failing to account for the “travel distance” of the cables. You must ensure that the cables connecting your desk to the wall outlet have enough slack to reach the lowest position, but not so much that they drag on the floor when the desk is raised.
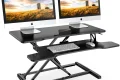
📷 Photo by walmart.com
Avoid using adhesive-only mounts for heavy items like power bricks. The combination of heat from the power adapter and the weight of the cables will eventually cause the adhesive to fail, leading to your equipment falling under the desk. Always opt for screw-mounted or high-quality clamp-based solutions for longevity.
Step-by-Step Installation Guide
Follow these steps to ensure a secure and efficient installation of your cable management tray:
- Clear your desk surface and carefully flip the desk upside down or move it to a position where you have easy access to the underside of the tabletop.
- Place your power strip inside the tray and measure the total width to ensure it fits comfortably without overcrowding.
- Position the tray on the underside of the desk, ensuring it is placed far enough back to be hidden but accessible enough for future adjustments.
- Mark the pilot holes with a pencil, then use a drill to create shallow holes, being extremely careful not to drill through the entire thickness of the desktop.
- Secure the tray using the provided screws, ensuring it is tightened firmly against the frame or the tabletop.
- Connect all your device cables, routing them through the tray, and use Velcro ties to bundle them together for maximum organization.
- Perform a “travel test” by slowly raising and lowering the desk while watching the cables to ensure no tension or snagging occurs.
Optimizing Your Cable Flow
Once the tray is installed, the secret to a professional-looking setup is the use of cable sleeves or snakes. These accessories group multiple individual wires into a single, flexible conduit. By running this conduit from your desk tray down to the wall outlet, you create a singular “umbilical cord” that moves cleanly with the desk. This prevents individual wires from flapping around or catching on furniture during height transitions.
Remember to label your cables if you have a complex setup with multiple monitors and peripherals. A simple piece of masking tape or a plastic tag near the plug end can save you hours of frustration when you need to troubleshoot a specific device or replace a failing component in the future.
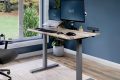
📷 Photo by amazon.com
Frequently Asked Questions
Q: Can I use a cable tray on a glass-top standing desk?
A: Generally, no. You cannot drill into glass. You should opt for clamp-on cable trays that attach to the metal frame of the desk instead of the tabletop surface.
Q: How much slack should I leave in my cables?
A: Measure the distance between your desk’s lowest and highest position, then add about 6 to 10 inches of extra length to the cables to ensure they are never pulled taut.
Q: Is it safe to put a power strip inside a metal tray?
A: Yes, it is perfectly safe, provided the power strip is not damaged and you are not exceeding its maximum wattage rating. Metal trays actually help dissipate heat better than plastic ones.
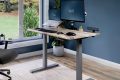
📷 Photo by amazon.com
Final Thoughts on Maintenance
Cable management is not a “set it and forget it” task. Every few months, take a moment to inspect your setup. Ensure that no screws have loosened due to the vibration of the desk motors, and check that no cables have been pinched by the desk’s moving parts. A well-maintained cable system not only protects your expensive electronics but also ensures that your standing desk remains a functional, stress-free part of your daily workflow.
📷 Photo by amazon.ca