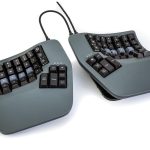




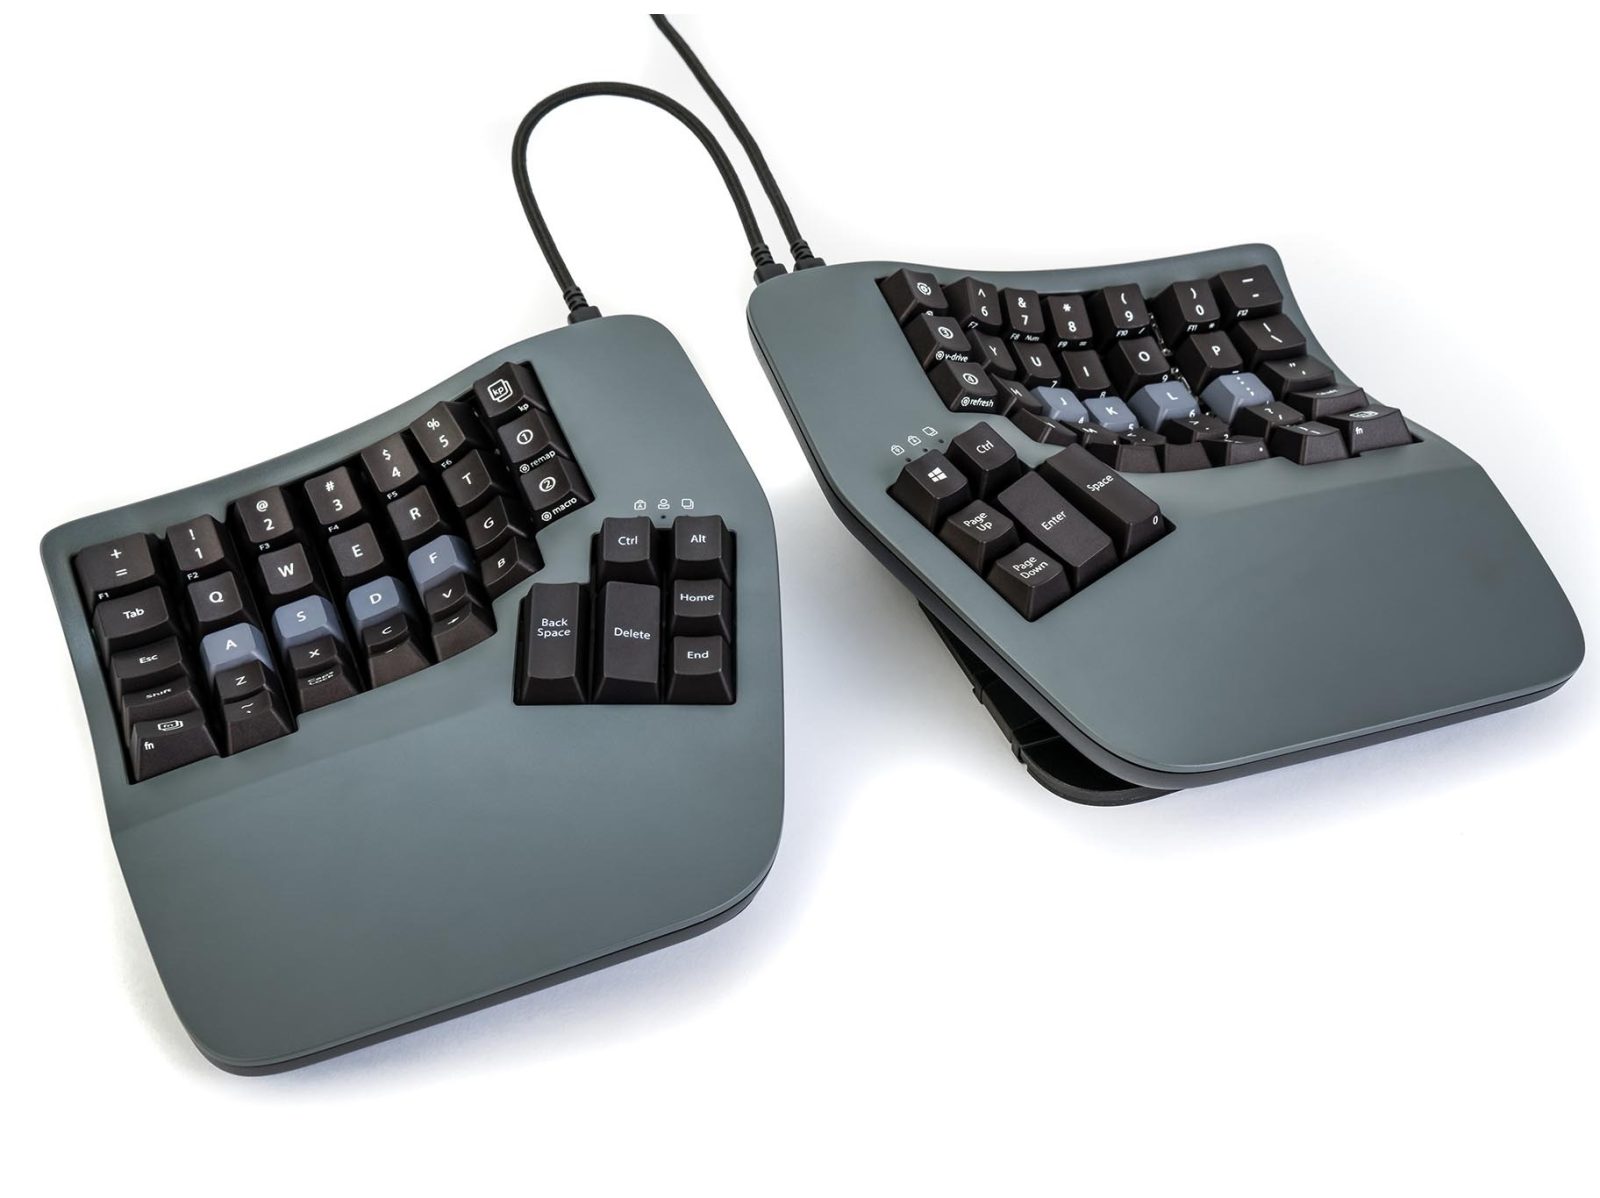
Aploda.com – A split keyboard setup eliminates ulnar deviation by allowing your hands to remain in a neutral, shoulder-width position, effectively preventing the wrist angling that causes chronic strain during prolonged standing desk use.
Standing desks are often heralded as the ultimate solution for sedentary work, yet they introduce new ergonomic variables. When you stand, your center of gravity and shoulder posture shift compared to sitting. If you continue using a standard, narrow rectangular keyboard, your wrists are forced to bend outward toward your pinky fingers—a posture known as ulnar deviation. Over time, this repetitive strain leads to carpal tunnel syndrome, tendonitis, and persistent shoulder fatigue.
Understanding Ulnar Deviation
Ulnar deviation occurs when the hand is angled away from the midline of the body. On a standard keyboard, your keys are packed tightly together, forcing your wrists to “fan out” to accommodate the layout. When standing, your arms naturally hang differently than when you are seated. If your keyboard is too narrow, your shoulders may roll forward to compensate for the awkward wrist angle, triggering tension in the trapezius muscles and neck.
By splitting the keyboard into two separate modules, you can place each half directly in front of each shoulder. This aligns your wrists, forearms, and shoulders in a straight line. This neutral posture reduces the workload on the small muscles of the forearm and distributes the force more evenly across the larger muscle groups of the upper back.
Key Components of an Ergonomic Split Setup
To successfully mitigate ulnar deviation, you must go beyond just buying a split keyboard. Your environment at the standing desk must support the physical separation of the devices. Here is a comparison of common split keyboard configurations to help you choose the right path for your workspace.
| Feature | Fixed Split Keyboard | Fully Detached Split Keyboard | Tenting/Tilting Capability |
|---|---|---|---|
| Flexibility | Low (Set angle) | High (Infinite width) | Varies |
| Wrist Alignment | Moderate | Excellent | Superior |
| Learning Curve | Low | High | Moderate |
| Portability | High | Moderate | Low |
Step-by-Step Guide to Configuring Your Split Keyboard
Setting up a split keyboard is not as simple as plugging it in and typing. You must adjust your desk environment to honor the new geometry of your hands. Follow these steps to ensure you are eliminating ulnar deviation effectively:
- Clear your standing desk surface completely to ensure you have enough lateral space for both keyboard halves.
- Adjust your standing desk height so that your elbows form a 90 to 100-degree angle while your hands rest on the keyboard.
- Place the keyboard halves apart so that the distance between the ‘G’ and ‘H’ keys matches the width of your shoulders.
- Adjust the tenting angle (if your keyboard allows) to keep your thumbs higher than your pinkies, reducing forearm pronation.
- Test the position by typing a short paragraph; if you feel tension in your outer wrists, widen the gap slightly.
- Secure the keyboard halves using adhesive pads or a dedicated keyboard tray to prevent them from sliding during intense typing sessions.
Common Mistakes When Transitioning
One of the most frequent mistakes users make is placing the two halves too far apart, which can lead to shoulder abduction—a state where your shoulders are held too wide, causing fatigue. The goal is shoulder-width alignment, not maximum width. Another common error is failing to adjust the mouse position. If you use a standard mouse, it may force you to reach across the gap between your keyboard halves, which can be just as damaging as ulnar deviation.
Consider using a trackball mouse or a vertical mouse positioned between the split halves or directly adjacent to the right module to minimize reaching. Additionally, many users forget to adjust their monitor height. When you stand, your gaze should hit the top third of your screen. If your monitor is too low, you will lean forward, negating the ergonomic benefits of your split keyboard setup.
The Importance of Tenting
While lateral separation solves ulnar deviation, “tenting” solves pronation. Pronation is the act of turning your palms downward to reach the keys. This position restricts blood flow and puts pressure on the median nerve. By tenting your keyboard—tilting the inner edges upward—you allow your hands to rest in a more natural “handshake” position. When combined with a split setup, tenting creates a three-dimensional ergonomic environment that significantly lowers the risk of repetitive strain injuries.
FAQ: Addressing Common Concerns
Q: Will a split keyboard make my typing speed slower?
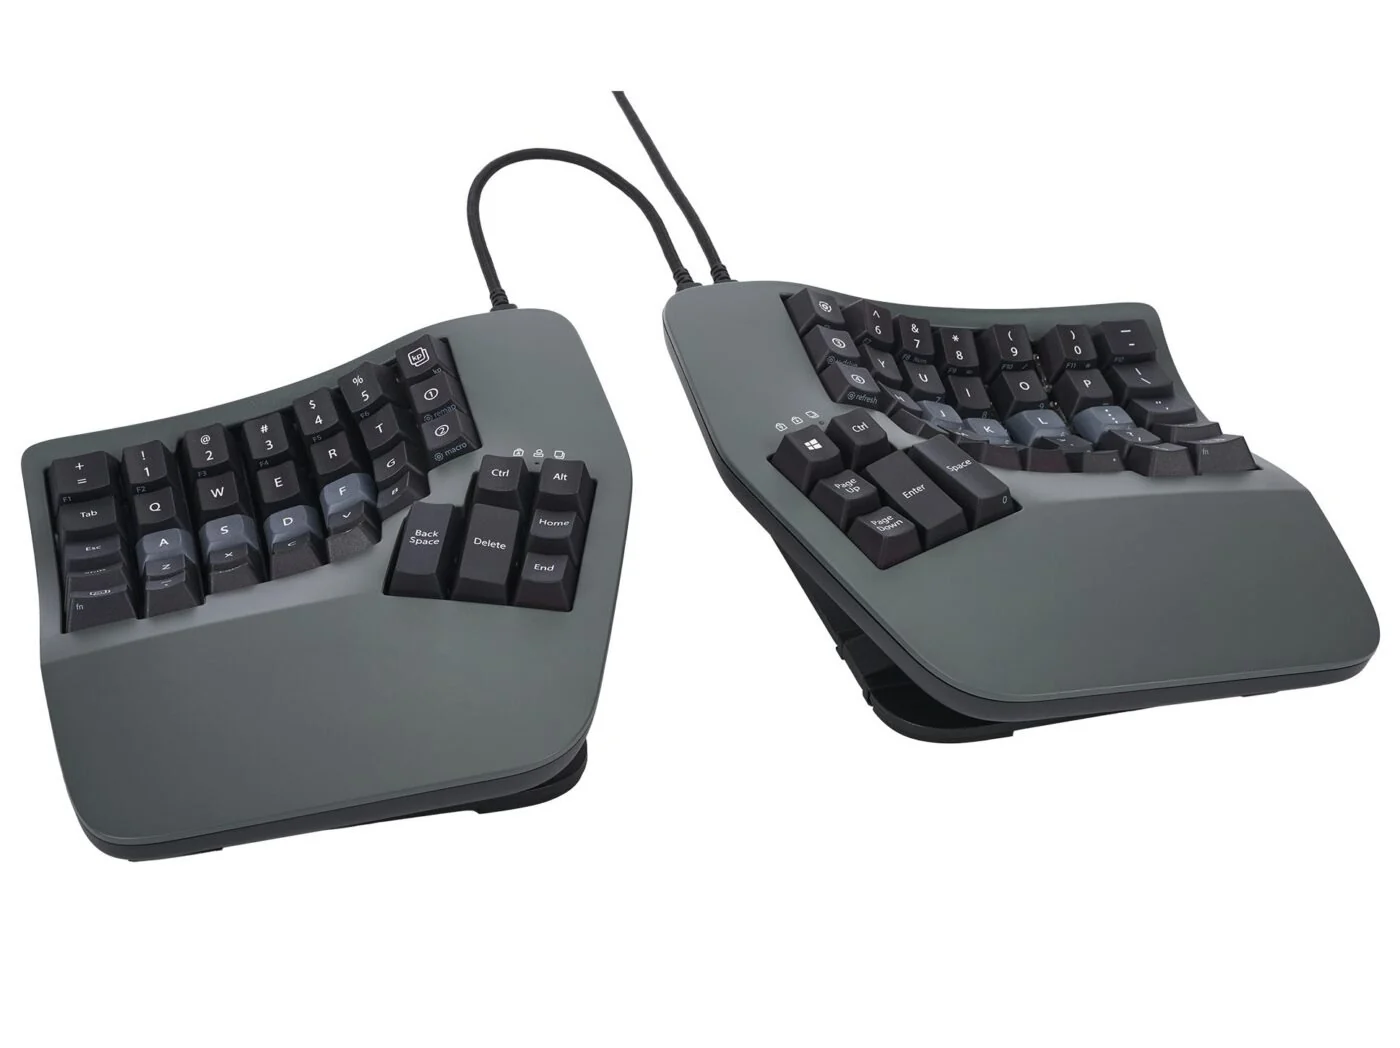
📷 Photo by kinesis-ergo.com
A: Yes, initially. Most users experience a 10-20% drop in speed during the first two weeks as they retrain their muscle memory to reach for keys in a non-standard layout.
Q: Can I use a split keyboard if I am a touch typist?
A: Absolutely. In fact, split keyboards are designed specifically for touch typists who already have good habits. Because the keys are physically separated, it prevents the common “cheating” habit of using your left hand to hit keys on the right side of the board.
Q: Does the desk surface material matter?
A: Yes. If your desk surface is slippery, the keyboard halves will migrate throughout the day. Using a large desk mat provides friction, ensuring your keyboard stays exactly where you need it for optimal alignment.
Ultimately, eliminating ulnar deviation is about listening to your body. If you feel tightness in your forearms or tingling in your fingers, take it as a signal to reassess your angles. A split keyboard is an investment in your long-term health, allowing you to reap the benefits of a standing desk without the hidden cost of musculoskeletal strain.
📷 Photo by droneinsider.org