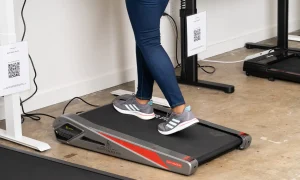




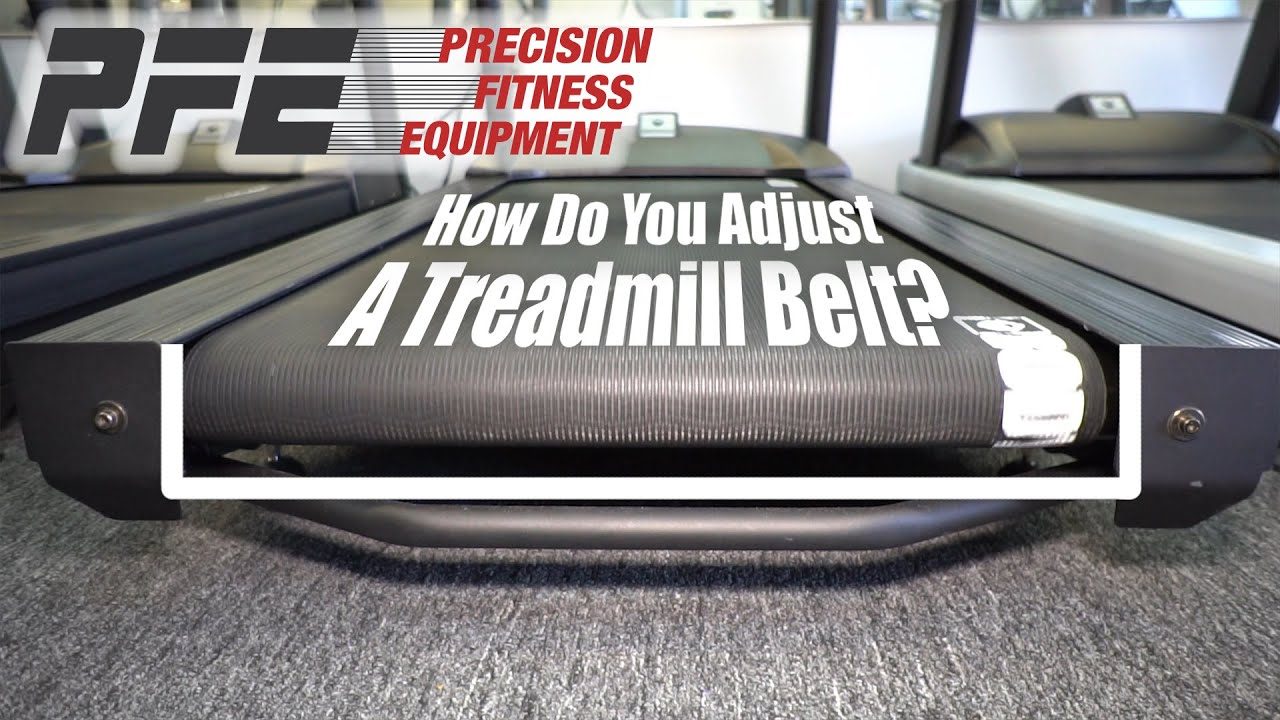
Aploda.com – An under desk treadmill replacement belt requires precise tensioning and alignment to prevent motor strain, eliminate slipping, and ensure a smooth, quiet walking experience during your workday.
📷 Photo by youtube.com
Maintaining your under desk treadmill is essential for both the longevity of the machine and your personal safety. Over time, the walking belt will naturally stretch, loosen, or shift due to the repetitive motion of your stride and the vibrations of the motor. When you replace a belt or simply perform routine maintenance, understanding how to calibrate the tension and alignment is the most critical step to avoid premature wear on the rollers and the deck.
The Importance of Correct Tension
Tension is the measure of how tightly the belt is stretched between the front and rear rollers. If the belt is too loose, it will slip when you place your weight on it, creating a jarring sensation that can cause you to lose your balance. Conversely, if the tension is set too high, it puts excessive stress on the motor bearings and the roller shafts, which can lead to a catastrophic mechanical failure or a burnt-out motor.
Most manufacturers recommend that you should be able to lift the belt about 2 to 3 inches off the deck at the center point. If you can lift it more than that, it is too loose. If you cannot lift it at all, it is likely overtightened.
Common Signs Your Belt Needs Adjustment
Before you start turning screws, you need to identify the symptoms of a misaligned or improperly tensioned belt. The most common sign of a loose belt is a momentary pause or “stutter” in the belt movement when your foot hits the deck. If the belt is misaligned, you will notice it rubbing against the side rails, which creates a distinct friction sound or a burning smell caused by the belt edge fraying against the frame.
You may also observe the belt drifting toward the left or right side of the deck. This is rarely a sign of a broken treadmill; rather, it is a simple matter of the rear roller tension bolts being uneven. By adjusting these bolts, you can steer the belt back to the center.
Comparison of Adjustment Symptoms
| Symptom | Likely Cause | Recommended Action |
|---|---|---|
| Belt slips under foot | Insufficient tension | Tighten both rear bolts equally |
| Belt drifts to the left | Left side is too loose | Tighten left bolt or loosen right bolt |
| Burning smell/Friction | Overtensioned or misaligned | Loosen bolts and recenter |
| Noisy motor/Grinding | Excessive tension | Loosen bolts until smooth |
Step-by-Step Belt Tensioning and Alignment Process
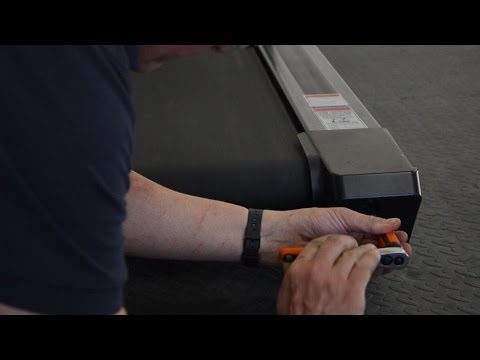
To successfully adjust your treadmill belt, you will need the Allen wrench (hex key) that originally came with your treadmill. Follow these steps carefully to ensure a balanced setup.
- Ensure the treadmill is powered off and unplugged from the wall outlet for safety.
- Locate the two adjustment bolts at the rear end of the treadmill frame, usually hidden by small plastic caps or located at the very end of the side rails.
- If the belt is slipping, turn both the left and right bolts clockwise by one-quarter turn using your Allen wrench.
- Test the tension by walking on the treadmill at a slow speed; if it still slips, repeat the quarter-turn adjustment on both sides simultaneously.
- To align a drifting belt, identify which side the belt is leaning toward. If it is drifting to the right, turn the right bolt clockwise by one-quarter turn and the left bolt counter-clockwise by one-quarter turn.
- Allow the treadmill to run for at least two minutes to let the belt settle into its new position before making further adjustments.
Preventing Future Issues
The most common mistake users make is over-adjusting. Always make small, incremental changes. Turning a bolt a full rotation can drastically change the belt position and lead to an overtightened state that is difficult to reverse without causing damage. Patience is your best tool during this process.
Additionally, keeping the deck lubricated is a major factor in belt health. A dry deck increases friction, which forces the belt to pull harder against the rollers. Even if your tension is perfect, a lack of silicone lubricant will make the belt feel sluggish and may cause the motor to overheat. Check your treadmill manual for the recommended lubrication interval, which is typically every 3 to 6 months depending on usage.
Final Troubleshooting Tips
If you have adjusted the belt multiple times and it continues to slip, the issue may no longer be tension. The belt itself might be worn out, or the drive belt connected to the motor may have stretched. If you notice a “squealing” sound, this is often the drive belt slipping, not the walking belt. In this case, you would need to remove the motor cover and inspect the internal drive belt tension.
Always keep the area around your treadmill clean. Dust, carpet fibers, and pet hair can get trapped between the belt and the deck, acting like sandpaper that wears down the belt material. Regular vacuuming around the base of your under desk unit can prevent debris from entering the mechanical components and affecting the belt’s performance.
Frequently Asked Questions
Q: How do I know if I have overtightened the belt?
A: If the treadmill motor makes a high-pitched whining noise, or if the belt feels extremely stiff and does not flex at all when you press down on it, it is overtightened and needs to be loosened immediately to prevent motor damage.
Q: Should I adjust the belt while the treadmill is running?
A: While some technicians do this, it is safer for home users to turn the bolts while the power is off, then start the treadmill to test the result. If you must adjust while running, never exceed a quarter-turn at a time and keep your hands away from the rear roller.
Q: How often should I check the belt alignment?
A: It is a good practice to perform a visual inspection of the belt alignment every time you use the treadmill. A quick glance at the gap between the belt edge and the side rail takes only a second and can save you from a major repair later.
📷 Photo by youtube.com