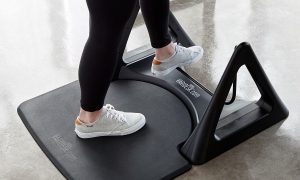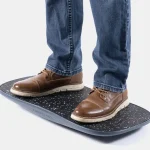



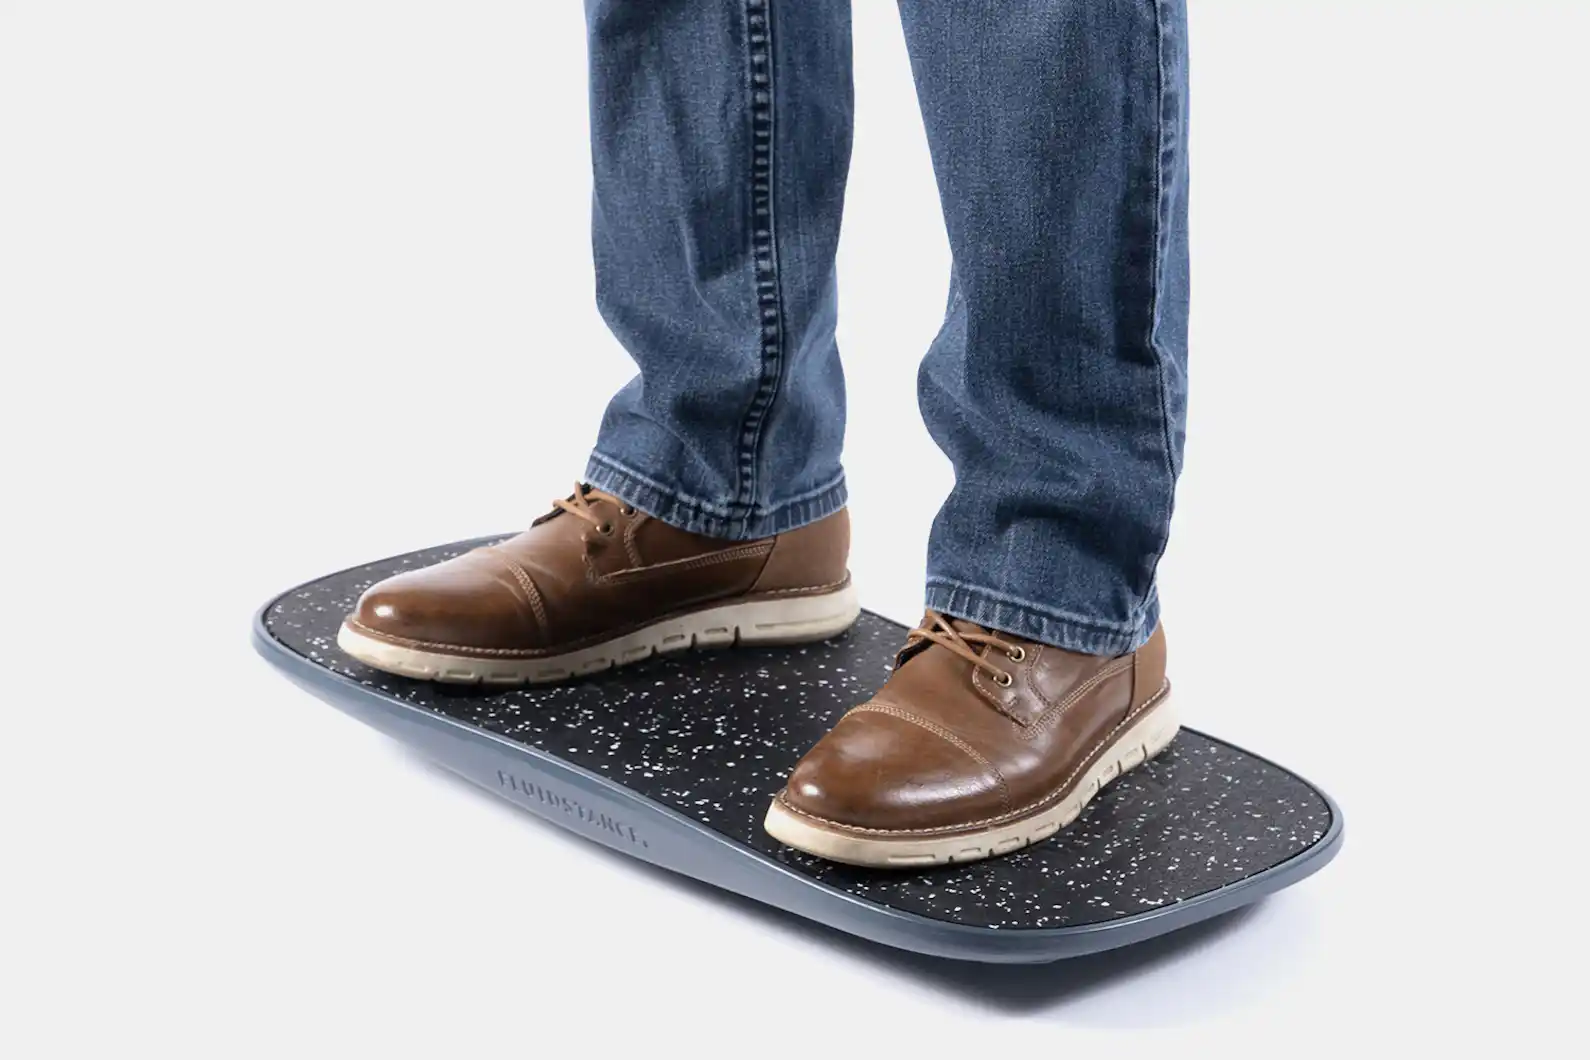
Aploda.com – Rubber base balance boards prevent scratches on vinyl tile floors by providing a high-friction, non-marking barrier that distributes weight evenly and absorbs the mechanical stress of movement. This protective layer ensures the hard plastic or wooden board edges never come into direct contact with the delicate surface of your vinyl tiles.
Vinyl tile flooring is a popular choice for home gyms and offices due to its durability and aesthetic appeal. However, it is inherently susceptible to surface abrasions, micro-scratches, and indentations when subjected to heavy fitness equipment like balance boards. A balance board, by nature, is designed to tilt, rotate, and shift, creating constant friction against the ground. Without a proper rubber base, the hard bottom of the board acts like a sanding tool, gradually wearing down the vinyl’s protective wear layer.
Understanding the Mechanics of Floor Damage
The primary reason balance boards damage vinyl is the concentration of force. When you stand on a balance board, your entire body weight is focused on the small footprint of the board’s base. If the base is made of hard plastic, wood, or metal, every shift in your center of gravity grinds the material into the vinyl. Over time, this creates circular scratches, dull spots, or even permanent depressions in the tile.
Rubber bases solve this by introducing a high-coefficient-of-friction material. Rubber is naturally compliant, meaning it compresses slightly under pressure. This compression increases the surface area contact between the board and the floor, spreading the load more effectively. Furthermore, the inherent grip of rubber prevents the board from sliding during intense workouts, which is the most common cause of deep, visible scuffs on vinyl surfaces.
Selecting the Right Rubber Material
Not all rubber bases are created equal. When shopping for a balance board or a protective mat, you must distinguish between different types of rubber compounds to ensure they are compatible with vinyl flooring. Some cheaper, synthetic rubber bases contain plasticizers that can react with the chemicals in vinyl, leading to permanent yellowing or staining—a process known as plasticizer migration.
Table 1: Comparison of Protective Base Materials for Vinyl Flooring
| Material Type | Effectiveness on Vinyl | Durability | Risk of Staining |
|---|---|---|---|
| Natural Rubber | High | High | Low |
| Recycled/SBR Rubber | Medium | Medium | Moderate |
| Hard Plastic/Nylon | Low | High | None |
| EVA Foam | High (for weight) | Low | Low |
Step-by-Step Guide: Properly Setting Up Your Balance Board
Following these steps will ensure that your equipment remains stable while keeping your flooring in pristine condition:
- Clean the vinyl surface thoroughly to remove any grit, sand, or dust particles, as these act as abrasives when trapped under the board.
- Inspect the rubber base of your balance board for any embedded debris or sharp edges that may have formed over time.
- If your board does not have an integrated rubber base, place a high-density, non-slip yoga mat or a dedicated equipment mat underneath the board’s footprint.
- Test the stability of the board on the mat; ensure that the mat does not bunch up or slide, as this can create tripping hazards.
- Periodically rotate the position of the board on the floor to prevent localized compression of the vinyl tiles.
Common Mistakes to Avoid
One of the most frequent errors users make is assuming that “non-slip” implies “floor-safe.” Many anti-slip grips are designed for traction rather than surface protection. A grip that is too aggressive might actually tear the top layer of a vinyl tile if the board is shifted suddenly. Always prioritize smooth, high-density rubber over textured, abrasive grips.
Another mistake is leaving the board in the same spot for extended periods. Even with a rubber base, the constant pressure of your body weight can cause “ghosting” or indentation marks if the balance board is left stationary for days at a time. Always store the board on its side or in a rack when not in use to allow the vinyl to recover its shape.
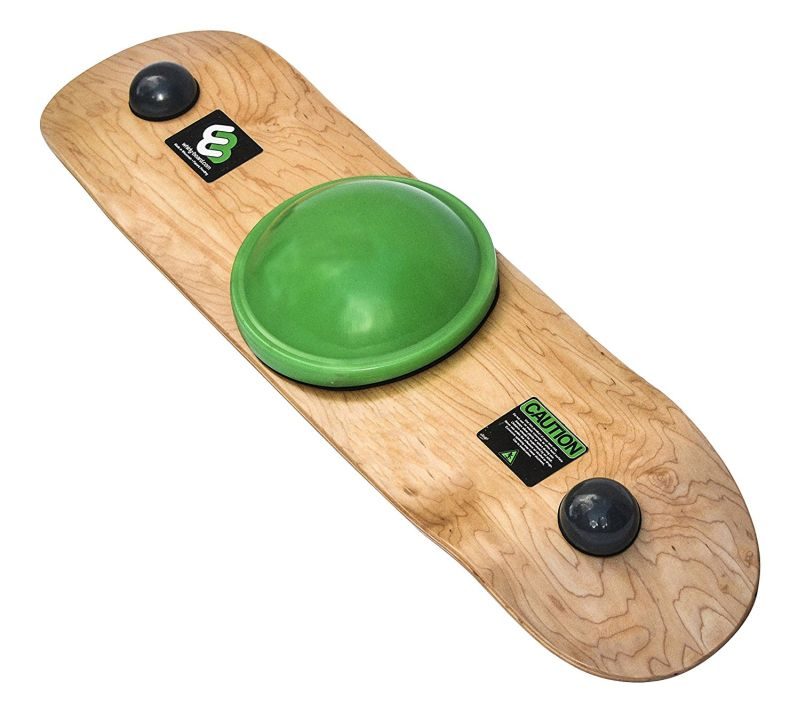
📷 Photo by 7gadgets.com
Maintenance Tips for Long-Term Protection
Maintenance of your equipment is just as important as the initial setup. If you notice that your rubber base is beginning to harden or crack, it is time to replace it. Hardened rubber loses its ability to grip and protect, effectively becoming as damaging as a hard plastic base. You can extend the life of your rubber base by wiping it down with a damp cloth once a week to remove dust, which helps maintain its natural tackiness.
If you have already noticed minor scuffs on your vinyl, avoid harsh chemicals or abrasive scrubbers. A simple mixture of mild dish soap and warm water is usually sufficient to clean the area. For deeper scuffs, a specialized vinyl floor restorer or a tennis ball rubbed gently over the mark can often lift the rubber residue without damaging the finish.
Frequently Asked Questions
Q: Can I use a regular yoga mat under my balance board to protect my vinyl floor?
A: Yes, a high-density yoga mat is an excellent solution, provided it is thick enough to absorb the point-pressure of the board without tearing.
Q: Why does my rubber base leave yellow stains on my vinyl?
A: This is likely caused by a chemical reaction between the rubber additives and the vinyl’s finish, often occurring in lower-quality synthetic rubber products; look for “non-staining” rubber labels.
Q: How often should I clean the underside of the balance board?
A: You should wipe the base clean every time you notice visible dust or hair buildup, as these particles act as sandpaper between the rubber and your vinyl floor.
By investing in a quality balance board with a dedicated rubber base and following a consistent maintenance routine, you can enjoy your fitness training without sacrificing the integrity of your home flooring. The key is to manage the friction and pressure distribution properly, ensuring that your equipment supports your health goals while respecting the longevity of your interior finishes.
📷 Photo by drop.com