


Aploda.com – A wall-mounted standing desk converter is a space-saving workstation solution that attaches directly to vertical surfaces, allowing users to transition between sitting and standing without occupying valuable floor area. It is the ideal ergonomic upgrade for compact home offices or narrow workspaces where traditional bulky standing desks would be impractical.
Why Wall-Mounted Converters are Game-Changers
In modern urban living and compact home office setups, square footage is a luxury. Traditional standing desks often feature heavy motorized legs and wide footprints that can dominate a small room, making the space feel claustrophobic. A wall-mounted standing desk converter removes the need for a floor-based support system, effectively “floating” your monitor, keyboard, and mouse off the ground.
This design choice is not merely about aesthetics; it is a functional necessity for ergonomics. By utilizing vertical wall space, you keep your floor clear, which makes cleaning easier and allows for better flow in tight rooms. Furthermore, these units are often highly adjustable, allowing for precise height calibration to match your natural elbow height, which is critical for preventing repetitive strain injuries.
Key Considerations Before Installation
Before purchasing or installing a wall-mounted converter, you must evaluate your wall structure. Most of these units require a solid mounting point, typically a wooden stud. Installing into drywall alone is a recipe for disaster, as the weight of the equipment and the force applied while typing can pull the unit out of the wall. Always use a stud finder and ensure your wall can support the total weight of the mount plus your computer hardware.
Additionally, consider the “swing” or “reach” of the arm. Some wall-mounted units offer a single-pivot point, while others feature multi-jointed arms that allow for significant lateral movement. If you need to tuck your desk away entirely when not in use, look for models with a “fold-flat” design that keeps the desk profile slim against the wall.
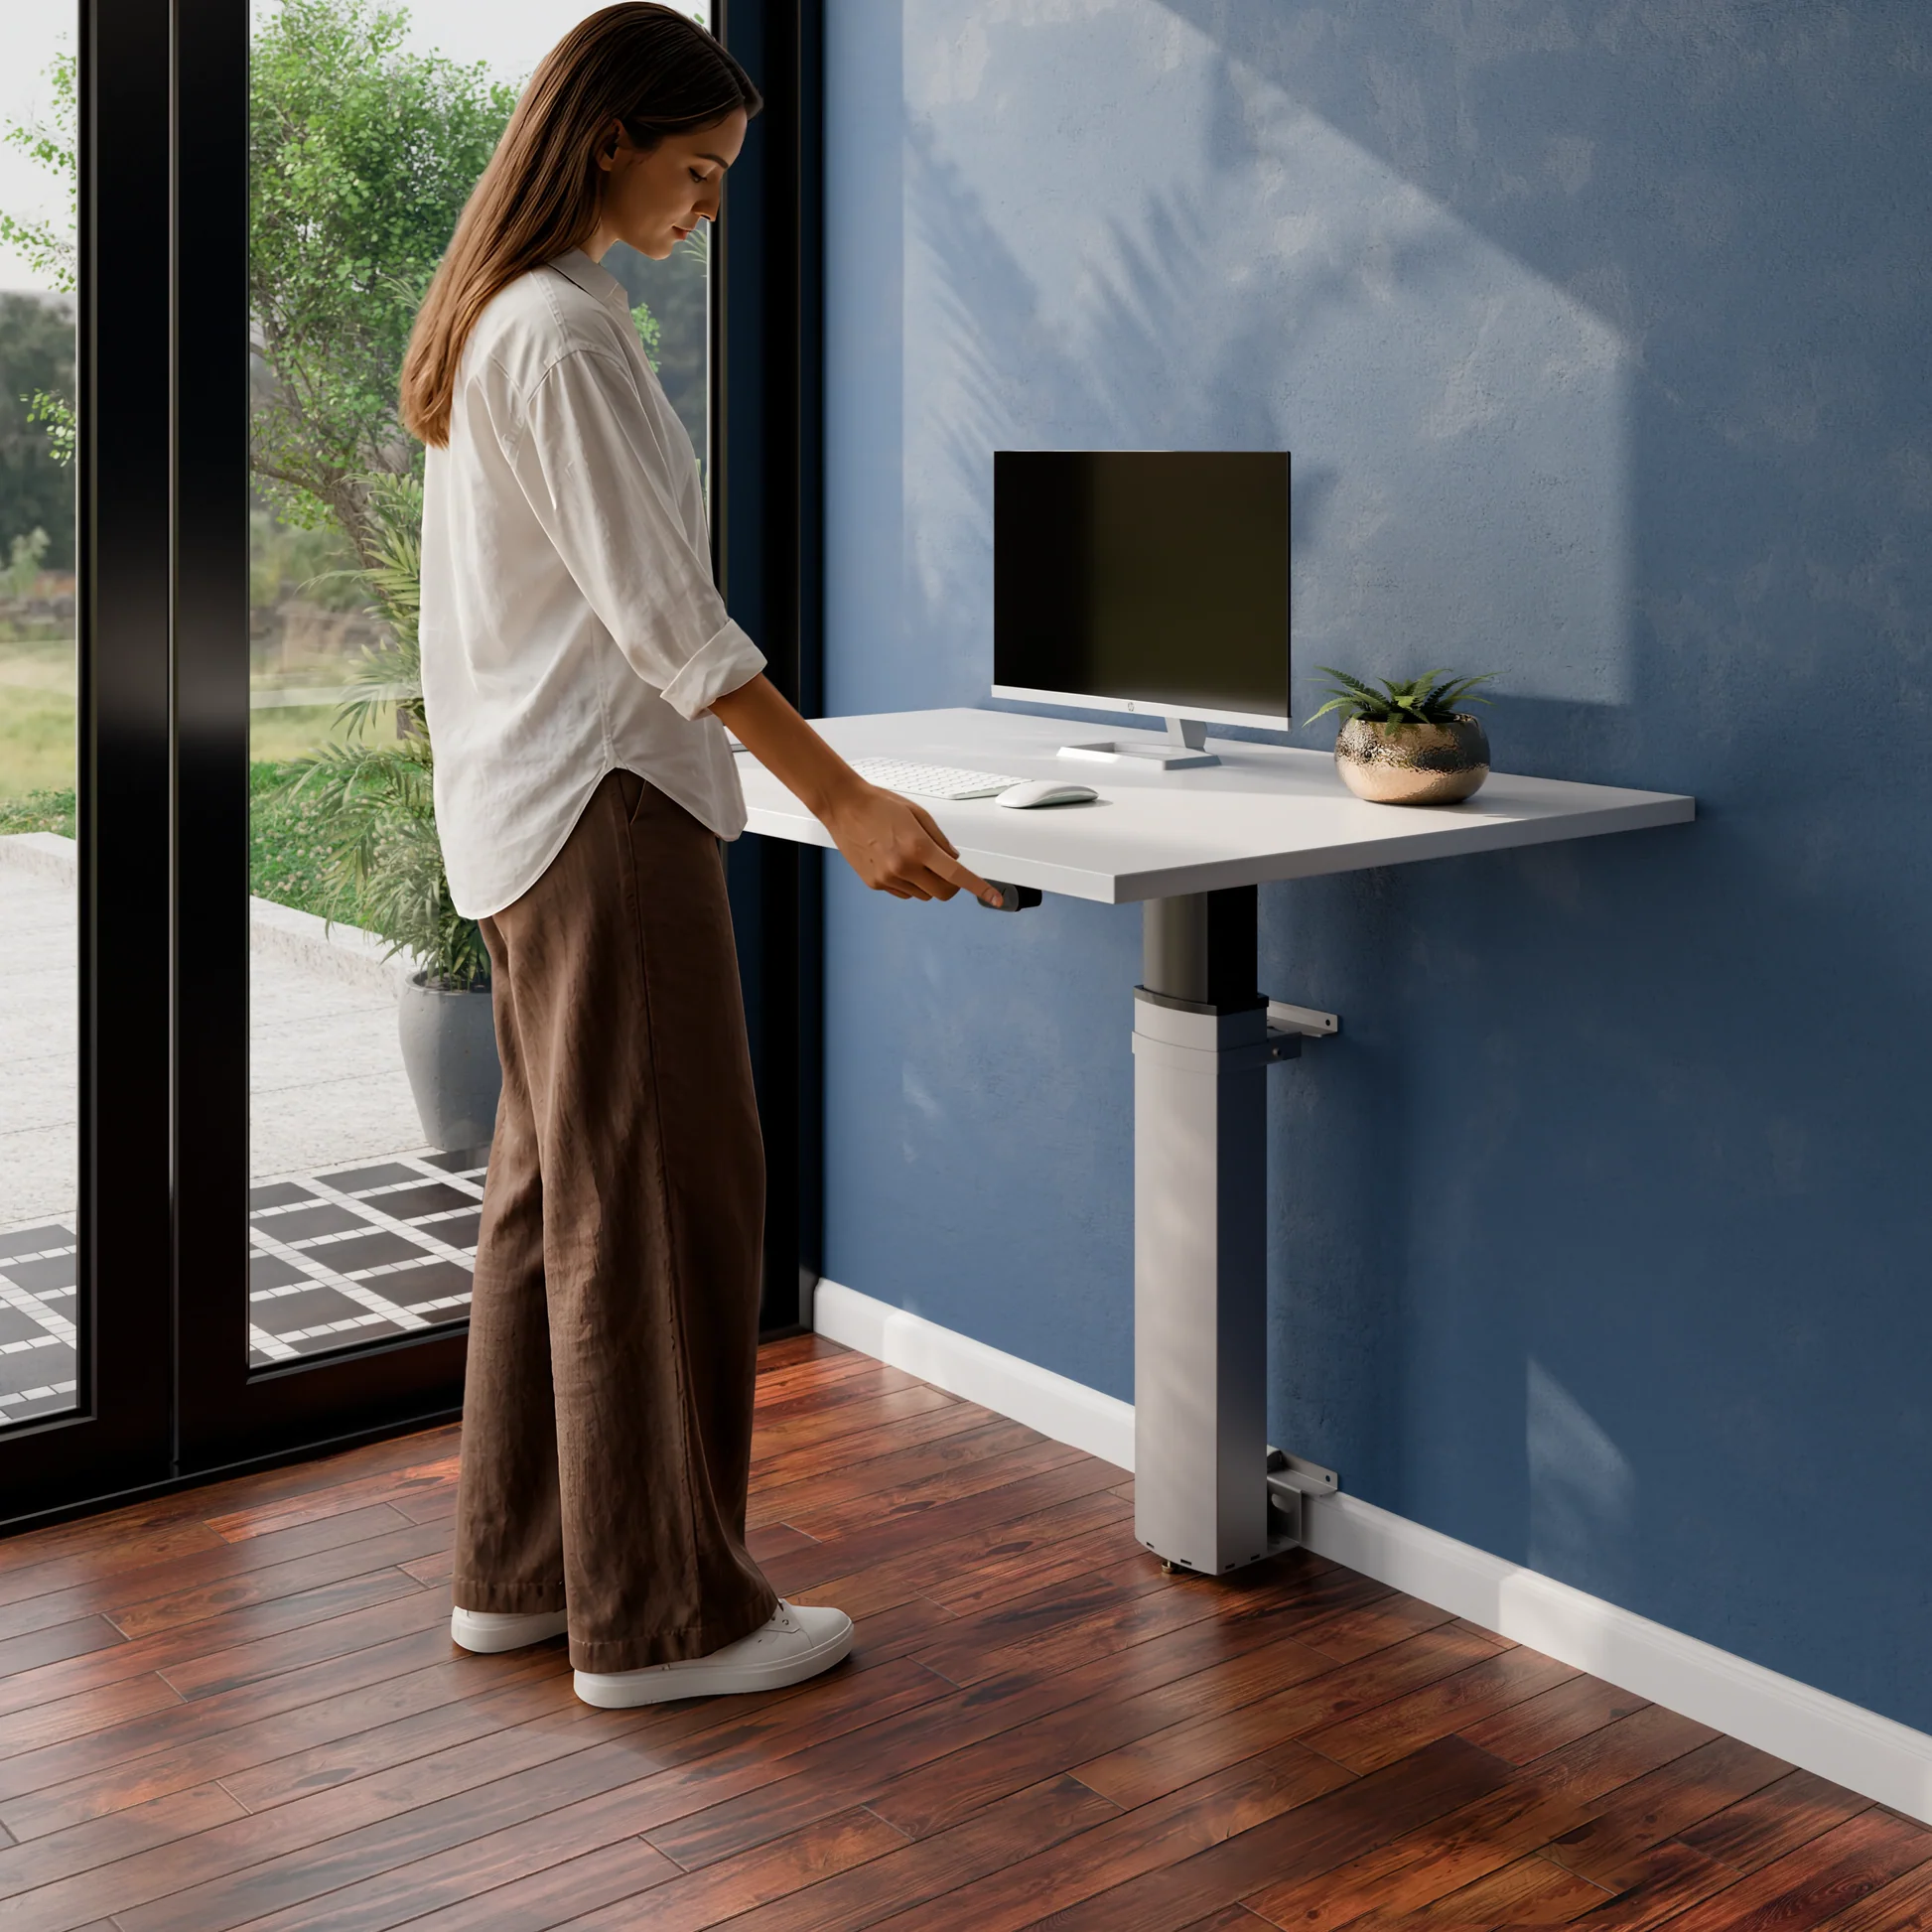
📷 Photo by ergoasis.co.uk
Comparison of Mounting Styles
| Mounting Type | Best For | Space Efficiency | Weight Capacity |
|---|---|---|---|
| Single Stud Arm | Minimalist setups, single monitor | Highest | Low to Medium |
| Dual-Track Wall Rail | Multiple monitors, heavy gear | High | High |
| Fold-Down Desk | Occasional use, laptop only | Maximum | Medium |
Practical Steps to Install Your Wall-Mounted Converter
Installation requires precision to ensure safety and comfort. Follow these steps to secure your workstation effectively:
- Locate the wall studs using a high-quality stud finder and mark the center of each stud with a pencil.
- Measure your standing elbow height; the primary mounting bracket should be positioned so that your keyboard tray aligns with this height when fully extended.
- Use a level to ensure the bracket is perfectly horizontal, as even a slight tilt can cause monitors to slide or the desk to feel unstable.
- Drill pilot holes into the marked stud locations to prevent the wood from splitting when driving in the heavy-duty lag bolts.
- Secure the base bracket to the wall, then attach the articulating arm and keyboard tray according to the manufacturer’s instructions.
- Test the tension settings of the gas spring or counter-balance mechanism to ensure the desk stays at your preferred height without drifting.
Common Mistakes to Avoid
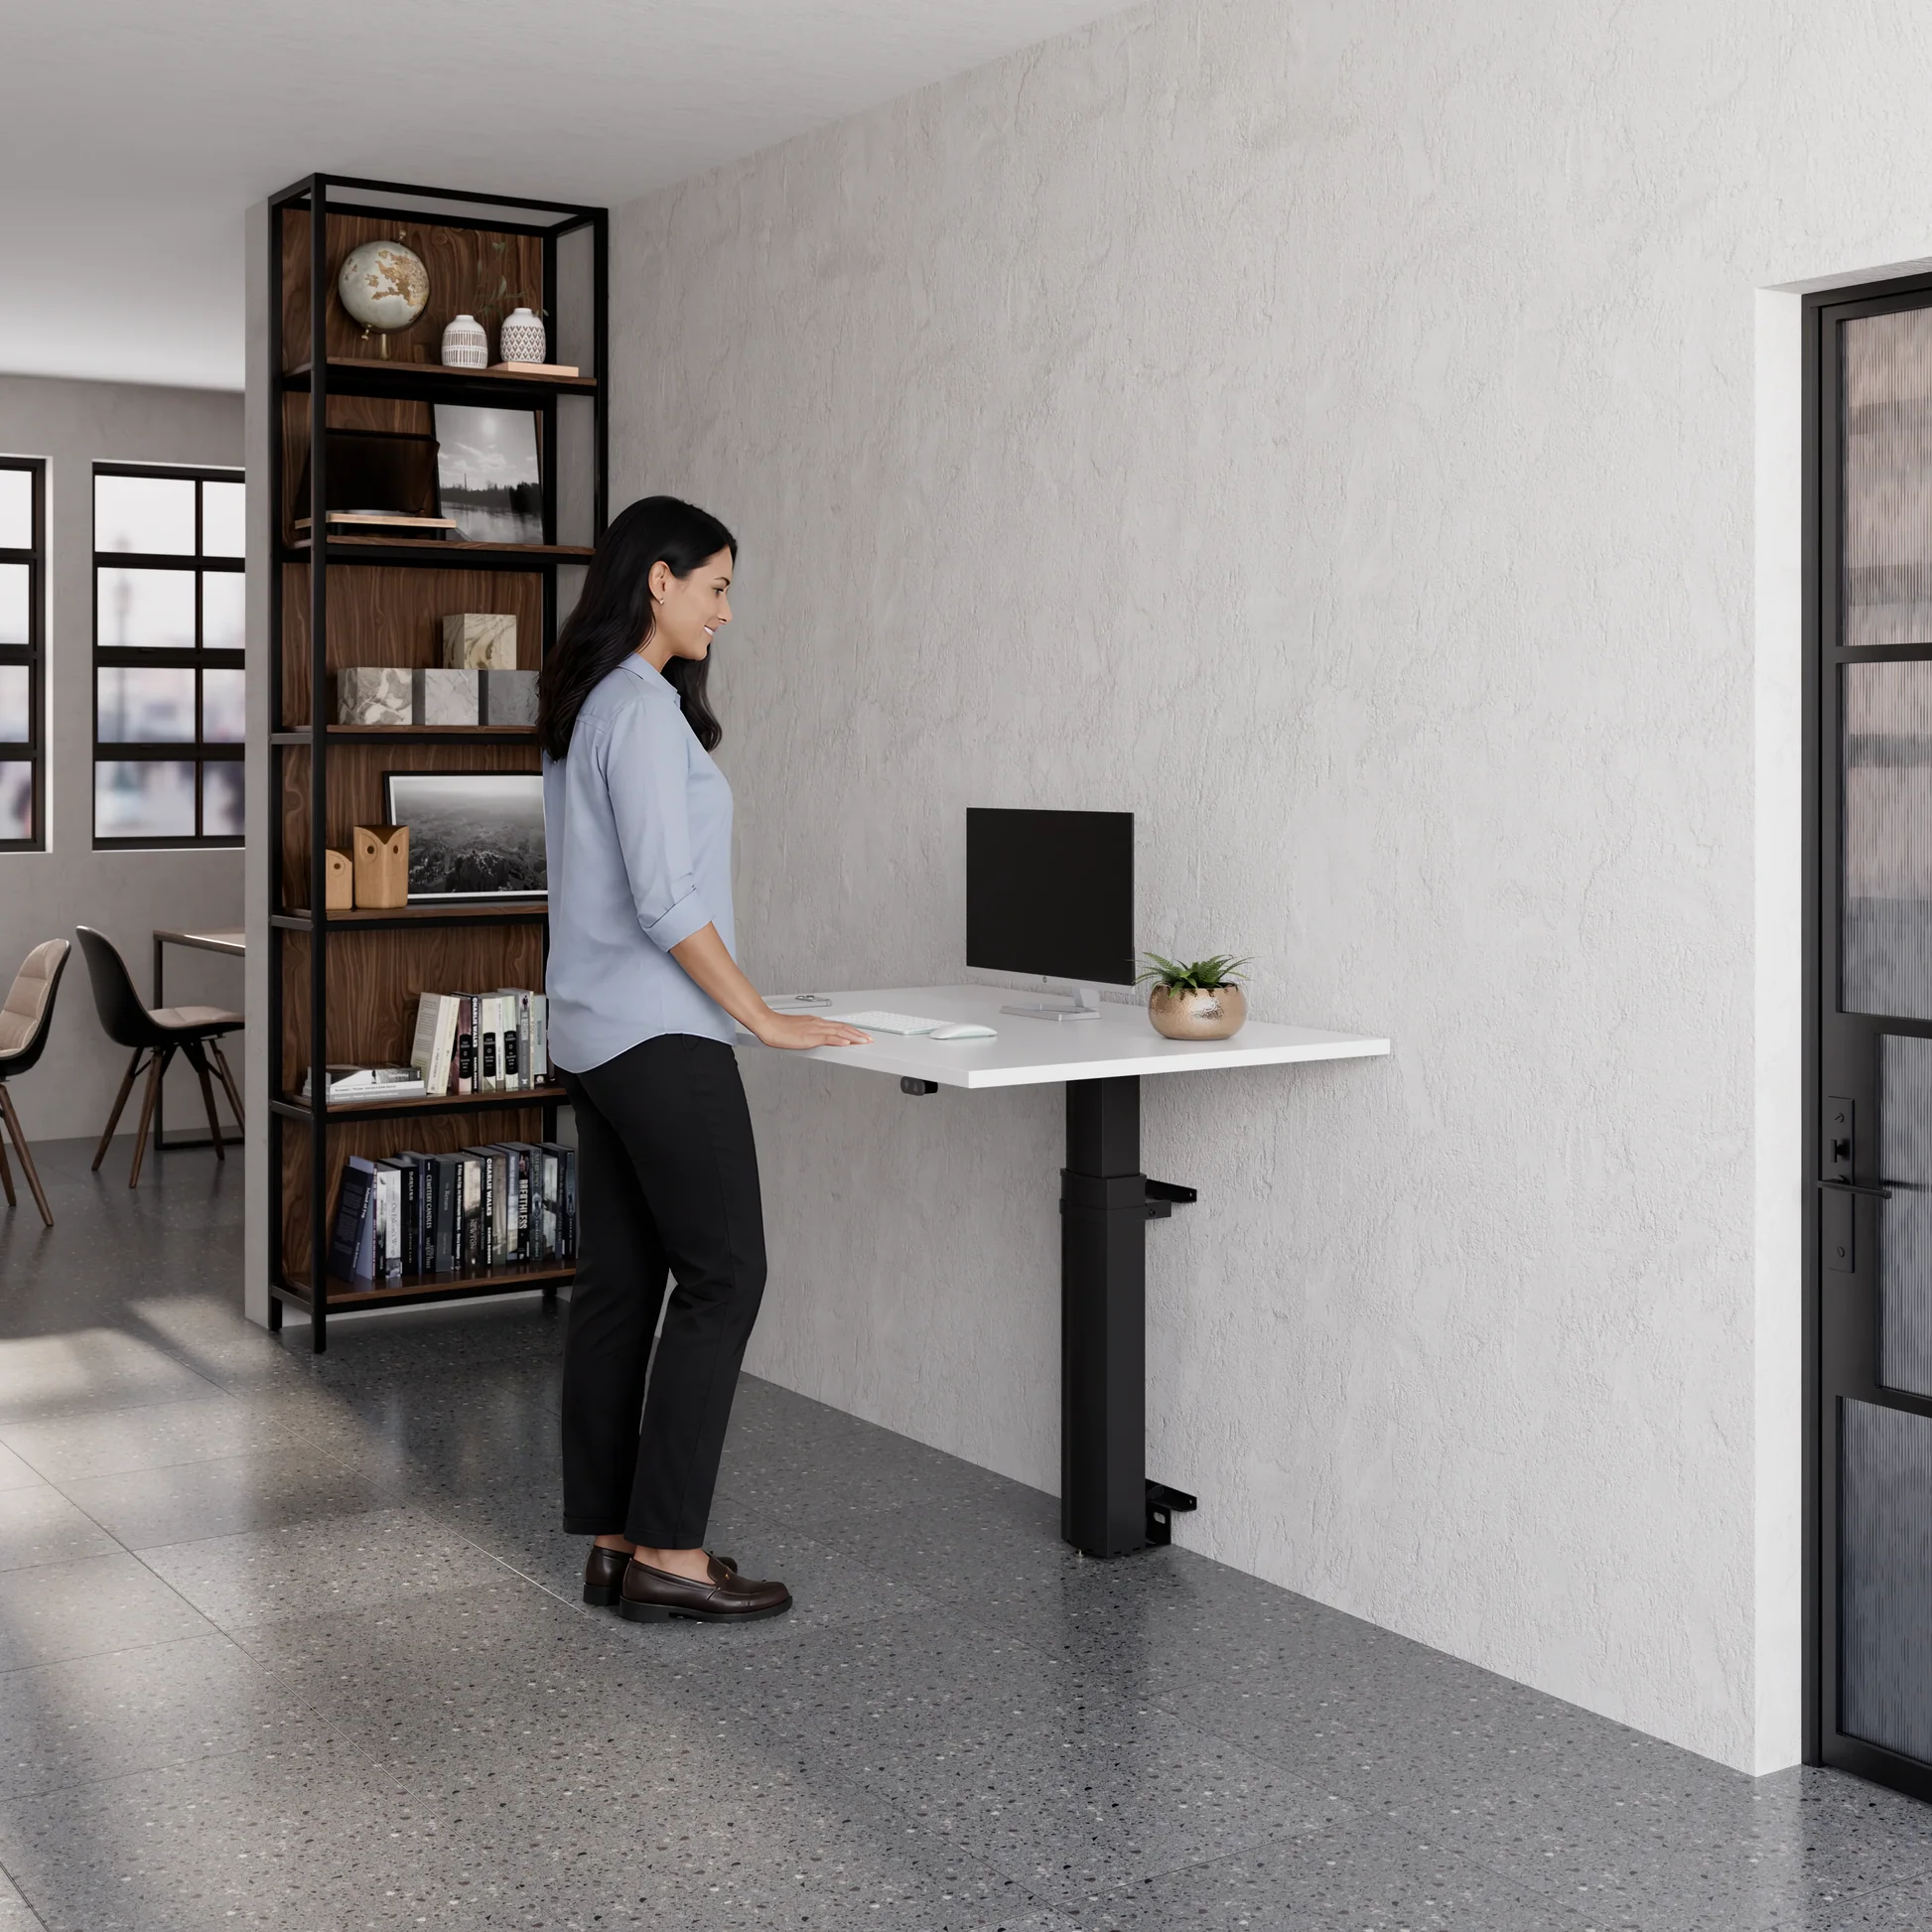
📷 Photo by ergoasis.co.uk
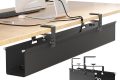
One of the most frequent errors users make is failing to manage cables properly. Because wall-mounted units move, cables that are pulled too tight can disconnect or, worse, pull your monitor off the desk during a height adjustment. Invest in cable management sleeves or clips that allow for enough slack to accommodate the full range of motion of the arm.
Another mistake is ignoring the weight limit. It is tempting to add extra accessories like heavy desk lamps or secondary monitors, but exceeding the manufacturer’s weight rating can damage the wall mount or cause the gas spring to fail prematurely. Always account for the weight of your peripherals before overloading the tray.
Ergonomic Best Practices
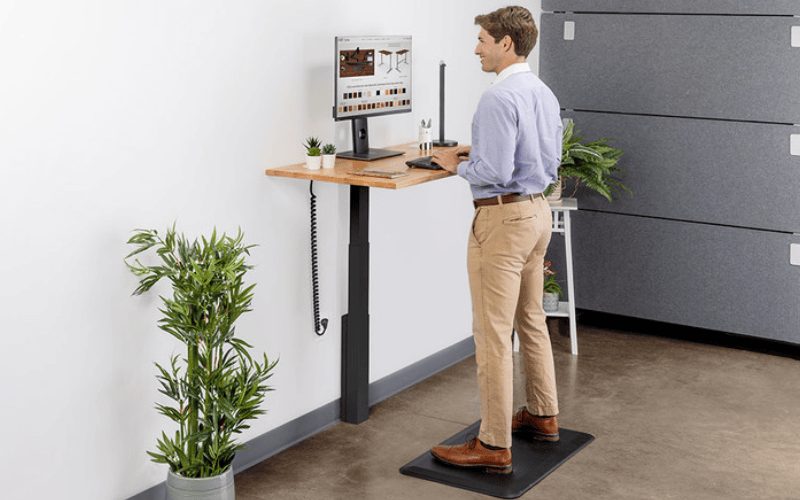
Once installed, remember that a standing desk is only as good as your posture. When standing, your feet should be shoulder-width apart, and your monitor should be at eye level to prevent neck strain. If you find yourself leaning on the desk, it is likely set too high or too low. You should be able to type with your wrists in a neutral position, parallel to the floor. If you plan to stand for long periods, incorporate an anti-fatigue mat to reduce pressure on your joints.
Frequently Asked Questions
Q: Can I install a wall-mounted desk on a brick or concrete wall?
A: Yes, but you will need a masonry drill bit and heavy-duty concrete anchors rather than the standard wood screws provided in most kits.
Q: Will a wall-mounted desk damage my wall?
A: The mounting process will leave small holes in the wall, which is standard for any wall-mounted furniture. These are easily patched with spackle and paint if you ever move the desk.
Q: How do I handle cable clutter with a floating desk?
A: Use adhesive cable clips or a flexible wire loom that runs along the wall-mounted arm to keep wires bundled neatly and protected from snagging during adjustments.
Final Thoughts on Productivity
Maximizing a small office space requires intentional design. By moving your workspace to the wall, you gain a sense of openness that is impossible with standard furniture. A wall-mounted standing desk converter acts as a catalyst for a more organized, ergonomic, and efficient work environment. When you remove the clutter from the floor, you create mental space as well, allowing for better focus and a more professional atmosphere in your home or small office.
📷 Photo by experteasy.com.au