




Aploda.com – Installing an in-desk wireless charger on an electric standing desk requires precise measurement of the desktop material thickness and careful cable management to ensure the charging coil remains within the effective range while allowing for the desk’s full vertical movement.
The rise of electric standing desks has transformed how we approach workspace ergonomics, but cable clutter remains a persistent challenge. Integrating an in-desk wireless charger is an elegant solution that eliminates the need for tangled charging cables, providing a seamless surface for powering smartphones and earbuds. However, because electric standing desks move up and down, the installation process demands more attention to detail than a standard fixed desk.
Understanding the Compatibility Constraints
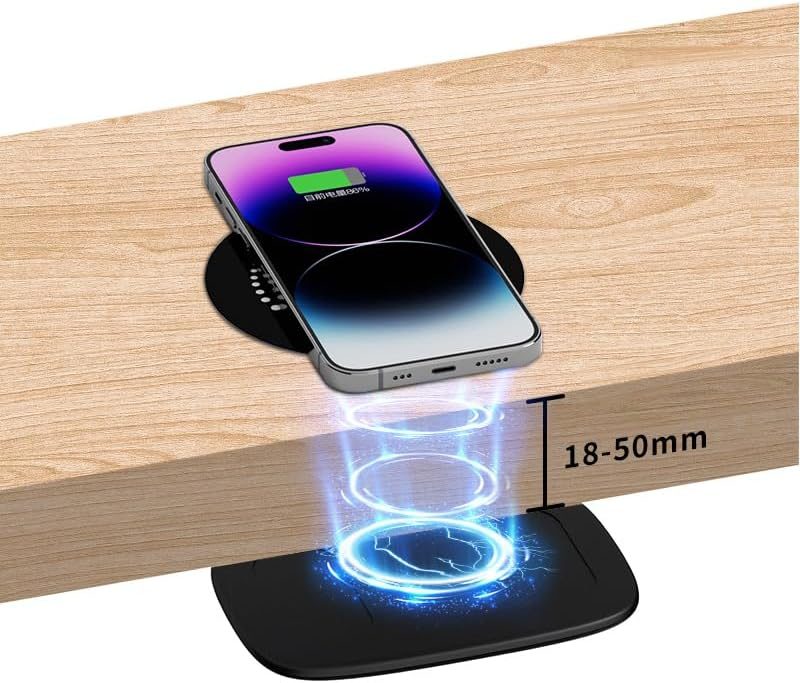
The most critical factor in your installation is the thickness of your desktop. Wireless charging coils typically have a limited range, usually between 5mm and 15mm depending on the power output and coil quality. If your desk is thicker than the charger’s specifications, the device will fail to detect your phone, or the connection will be intermittent. Many high-end electric desks use solid wood, which is often too thick for surface-mount chargers. You may need to use a router to create a recessed pocket on the underside of the desk to thin the material to the required tolerance.
Another factor is the material itself. Metal surfaces will interfere with electromagnetic induction, making them incompatible with standard wireless chargers. If you have a metal desk, you must look for specific mounting kits that allow for a cutout, or you must choose a different installation location. Glass desks present a different challenge, as they are fragile and difficult to drill without specialized tools.
Required Tools and Preparation
Before you begin, gather the necessary equipment. You will need a hole saw drill bit that matches the exact diameter of your charger, a power drill, a tape measure, a pencil for marking, and heavy-duty cable clips. Always double-check the manufacturer’s template provided with your charger. Even a 2mm deviation in hole size can result in a loose fit that looks unprofessional and feels unstable.
Step-by-Step Installation Guide
- Select the ideal location on your desk that does not interfere with the desk’s internal crossbar or the control box for the electric motors.
- Measure the thickness of your desktop to ensure it falls within the charger’s specified operating range.
- Place the adhesive template on the surface and use a center-point drill bit to create a pilot hole.
- Use the hole saw to carefully cut through the desk surface, maintaining a slow and steady speed to prevent splintering.
- Sand the edges of the hole for a smooth finish and insert the charger unit until it clicks into place.
- Route the power cable along the desk legs using cable sleeves, ensuring there is enough slack to accommodate the desk’s maximum height without pulling the plug out of the power strip.
Comparative Analysis of Mounting Types
| Feature | Surface-Mount (Drop-in) | Under-Mount (Hidden) |
|---|---|---|
| Aesthetics | Visible charging ring | Completely invisible |
| Difficulty | Moderate | High (requires routing) |
| Charging Range | Standard | Limited (requires thin material) |
| Durability | High | High |
Managing Cable Slack for Adjustable Desks
The most common mistake during installation is failing to account for the desk’s range of motion. When you move an electric standing desk to its highest setting, any cable attached to the desktop is pulled upward. If you do not leave enough slack, you risk damaging the charger’s port, the power brick, or the wall outlet. Use a cable management spine or an expandable cable sleeve that can stretch as the desk rises. Secure the cable to the desk frame at multiple points so that the weight of the cord does not pull on the charger itself.
📷 Photo by amazon.com
It is also advisable to use a dedicated power strip mounted to the underside of the desk. By plugging your wireless charger into a desk-mounted power strip rather than a wall outlet, you ensure that only one main cable travels from the desk to the wall. This minimizes the risk of snagging or disconnection during desk operation.
Common Risks and Troubleshooting
Heat buildup is a silent risk in in-desk installations. Wireless charging generates thermal energy, and if the charger is buried deep within a thick desktop, that heat may not dissipate effectively. This can slow down charging speeds and degrade the battery health of your mobile device. Ensure there is adequate airflow around the underside of the charger housing. If the charger becomes excessively hot to the touch, consider adding a small heatsink or ensuring the cutout is slightly larger than the device to allow for passive ventilation.
Frequently Asked Questions
Q: Can I install a wireless charger on a desk that is 30mm thick?
A: Most standard consumer wireless chargers have a maximum range of 10mm to 15mm. If your desk is 30mm thick, the charger will not work unless you route out a significant portion of the wood from the underside to reduce the thickness to within the charger’s operational limit.
Q: Will the movement of the standing desk damage the charger?
A: The movement itself will not damage the charger as long as the cables are properly managed. The primary risk is tension on the cable; ensure you have enough slack for the desk’s maximum height, and always use cable ties to anchor the cord to the desk frame.
Q: Why does my phone stop charging when I move the desk?
A: This is usually caused by a poor connection or a cable that is being pulled tight, causing the charging pad to shift slightly out of alignment. Check your cable slack and ensure the charger is securely fastened in the hole so it does not wobble during movement.
By following these guidelines, you can achieve a professional-grade wireless charging setup that enhances both the form and function of your electric standing desk. Always prioritize safety by checking for electrical clearance and ensuring your cables are organized to handle the dynamic nature of your workspace.
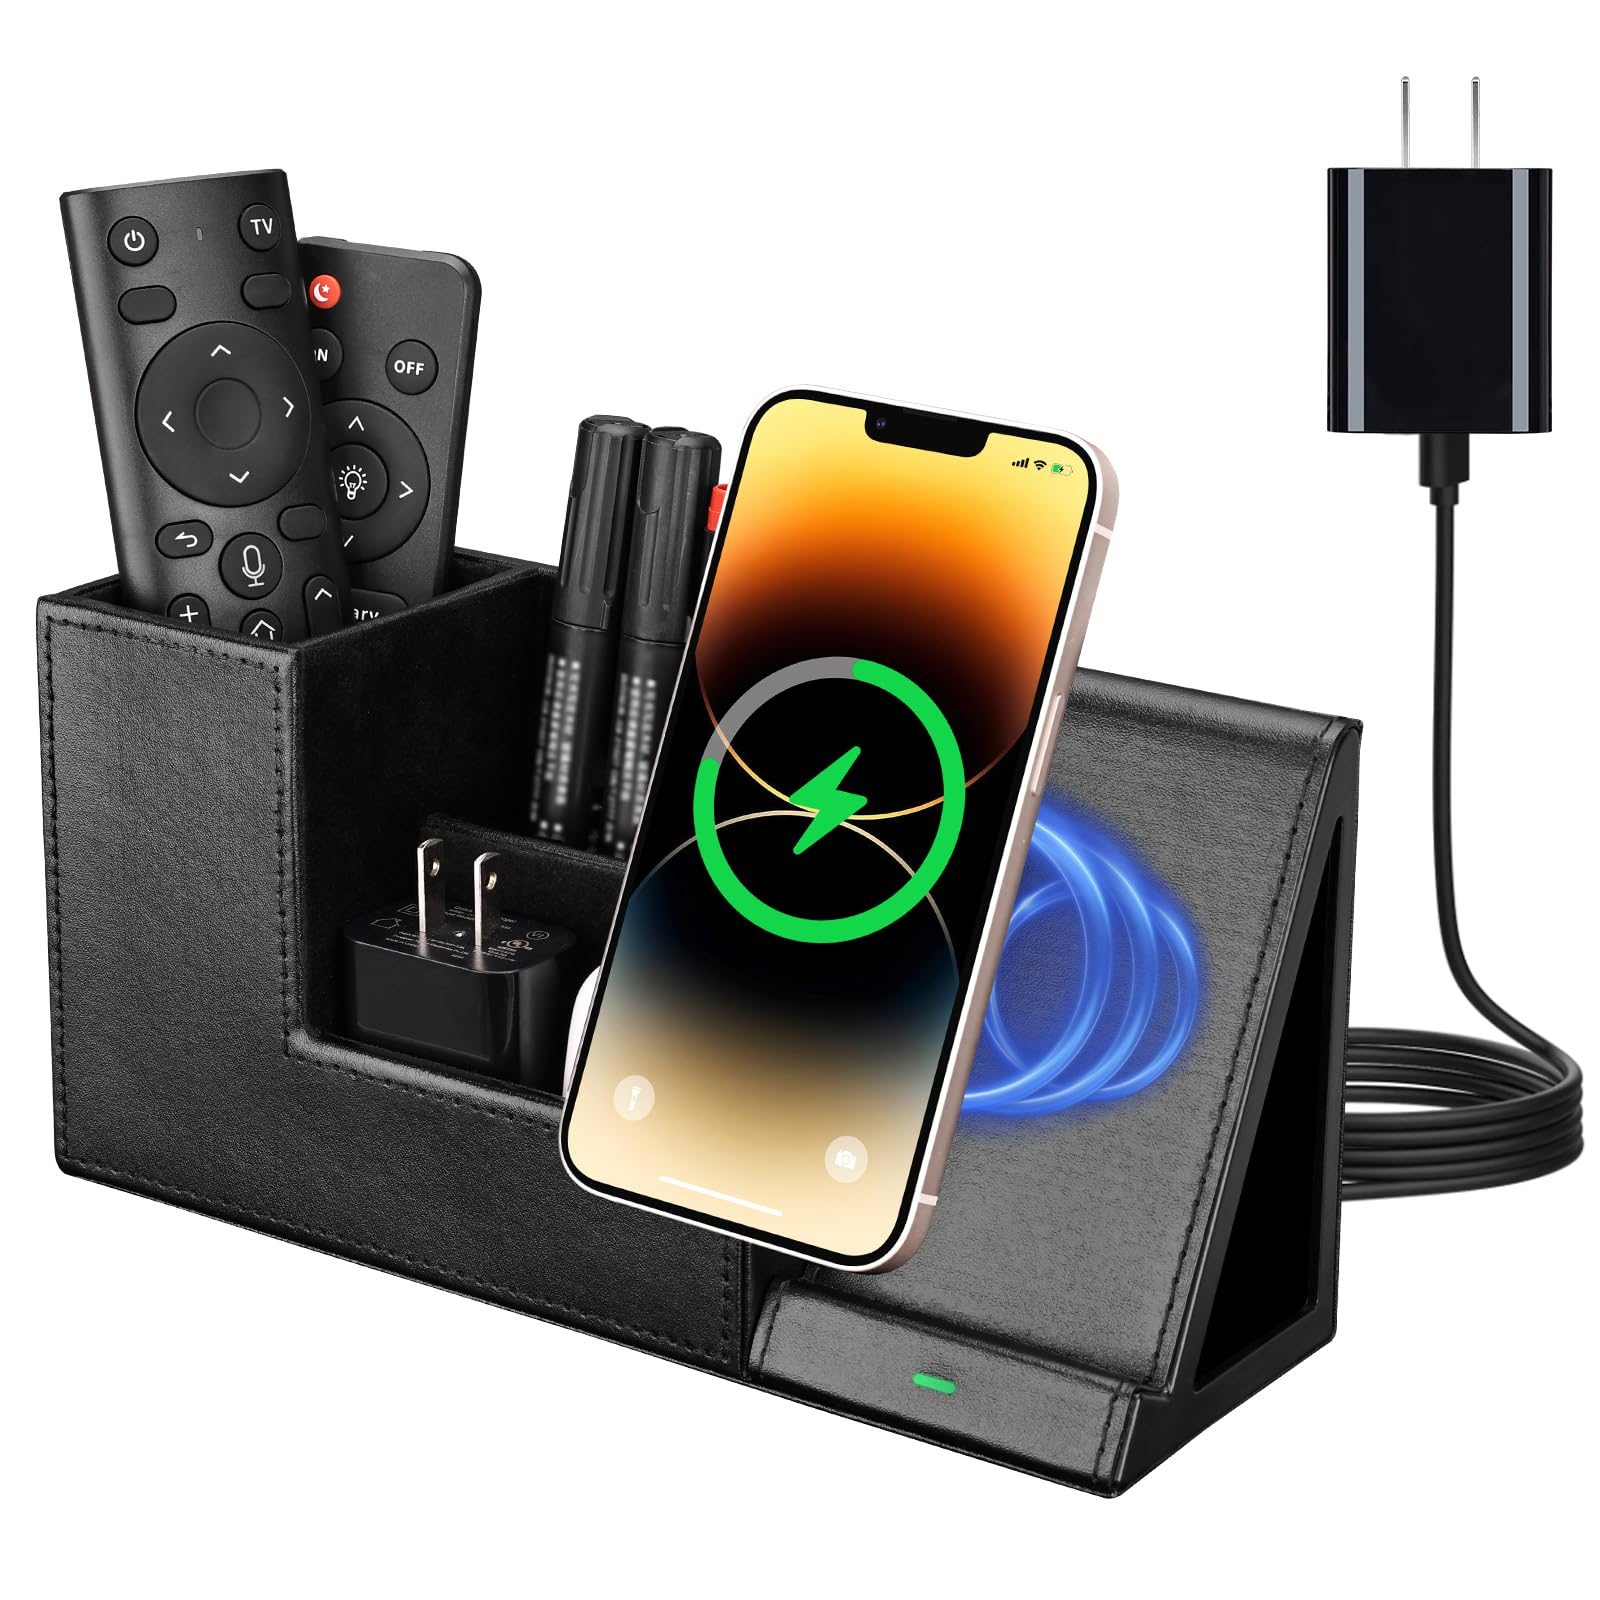
📷 Photo by amazon.com